Introduction
Have you ever seen pigeons walking around in parks or flying across the sky? Now you can make your very own paper version! This easy origami pigeon is simple, fun, and perfect for beginners.
In this tutorial, you will learn how to fold an easy origami pigeon step by step. It’s a great little project that turns a plain sheet of paper into a charming bird you can play with or display.
Difficulty Level
Level 1 (Very Easy)
How long does it take?
5 to 7 minutes
Materials
- 1 square paper (15 x 15 cm is best)
- A flat surface to work on
Step-by-Step Instructions
If you are new to origami, learning basic folds will make this easier.
👉 Click here to master basic folds first!
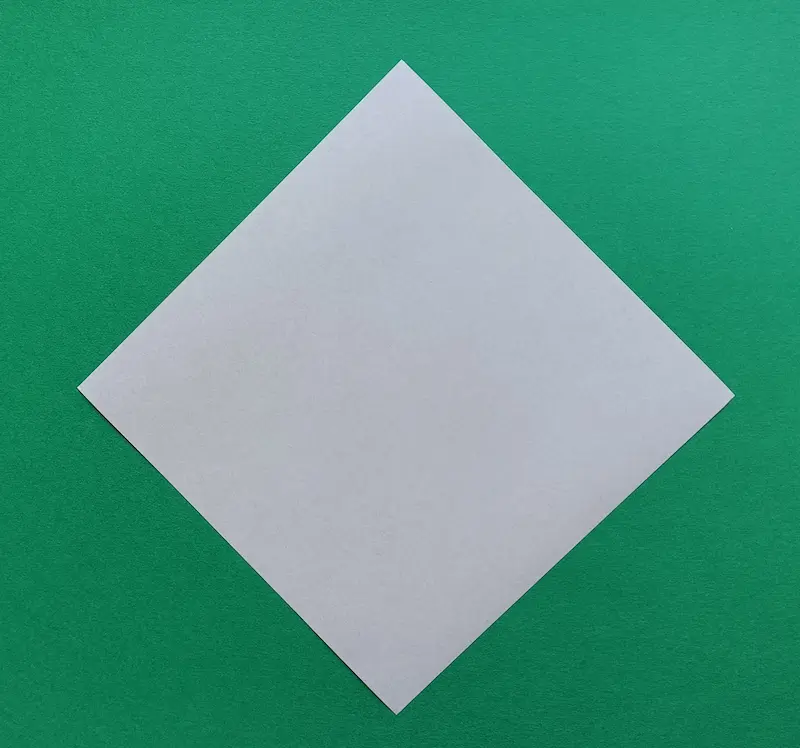
1. Place your paper on the table like a diamond shape.
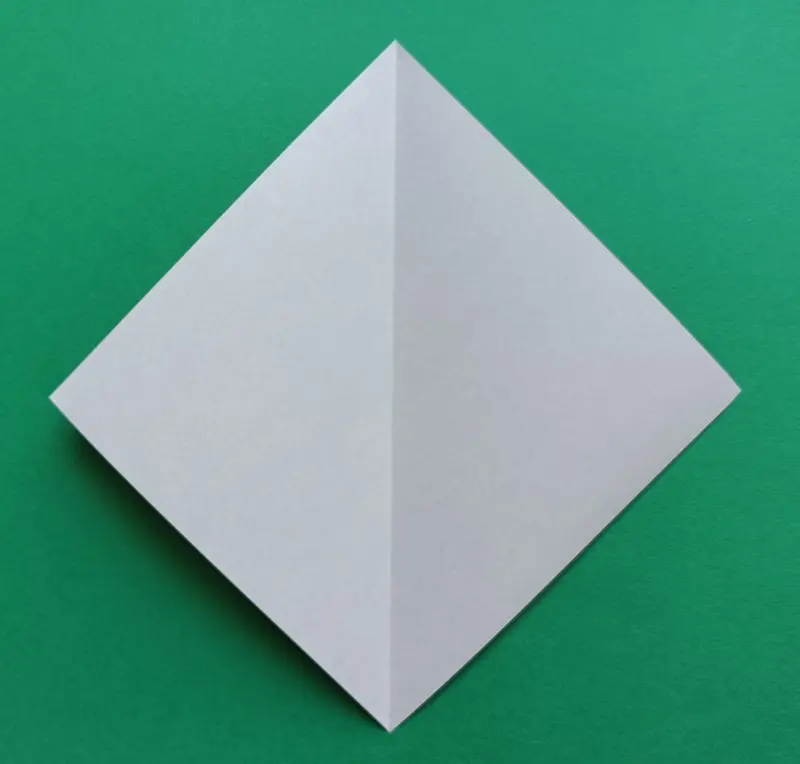
2. Make a straight line from top to bottom.
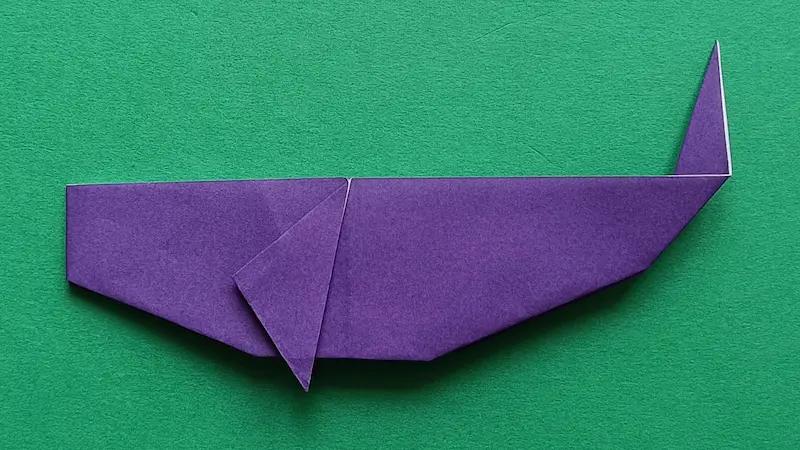
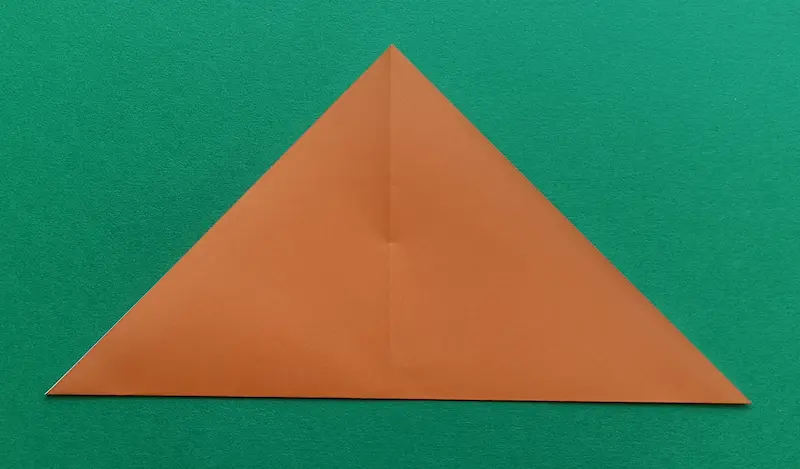
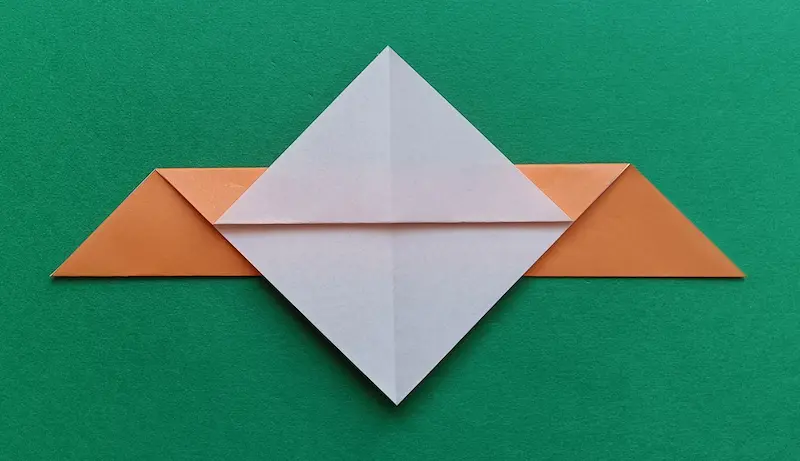
3. Fold the bottom corner up to the top corner.
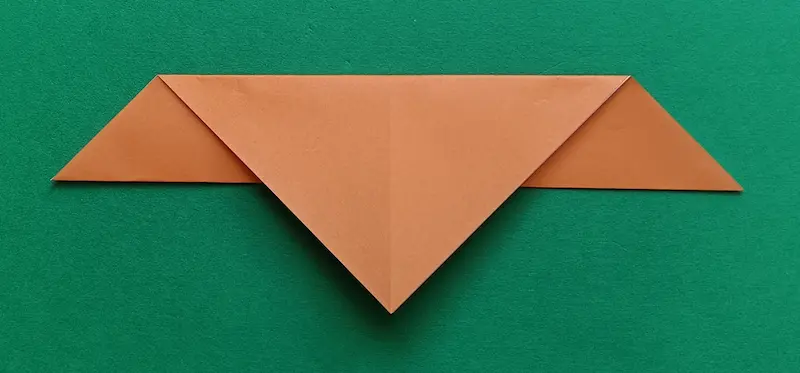
4. Fold both sheets down at the same time.
5. Fold the top layer up.
6. Fold it in half to the right.
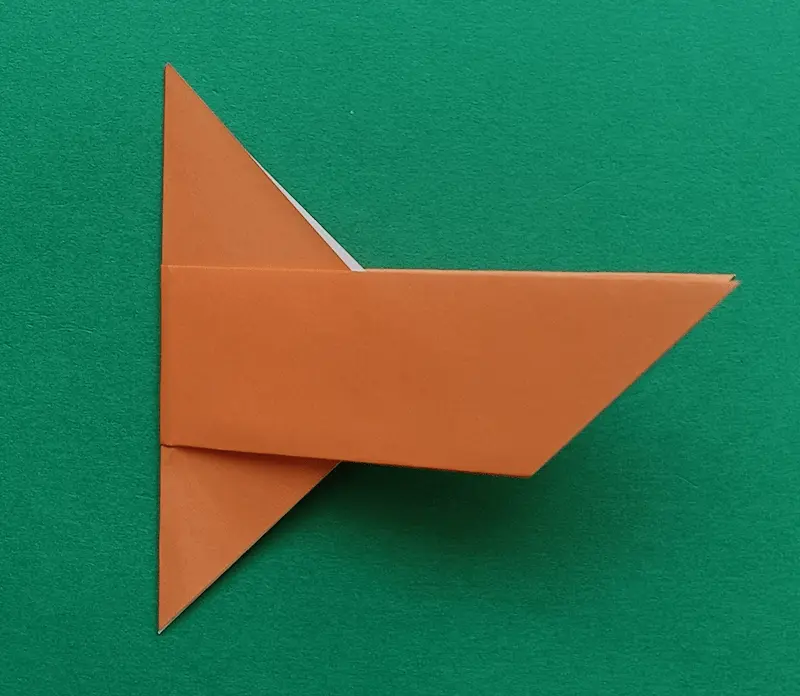
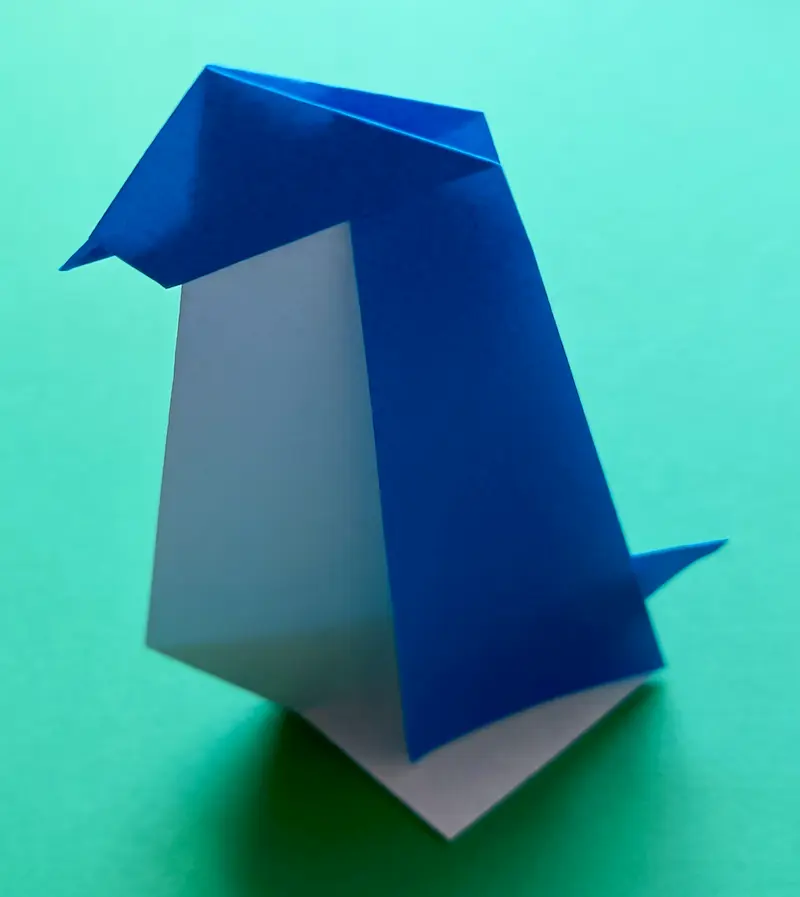
7. Turn it to the right.

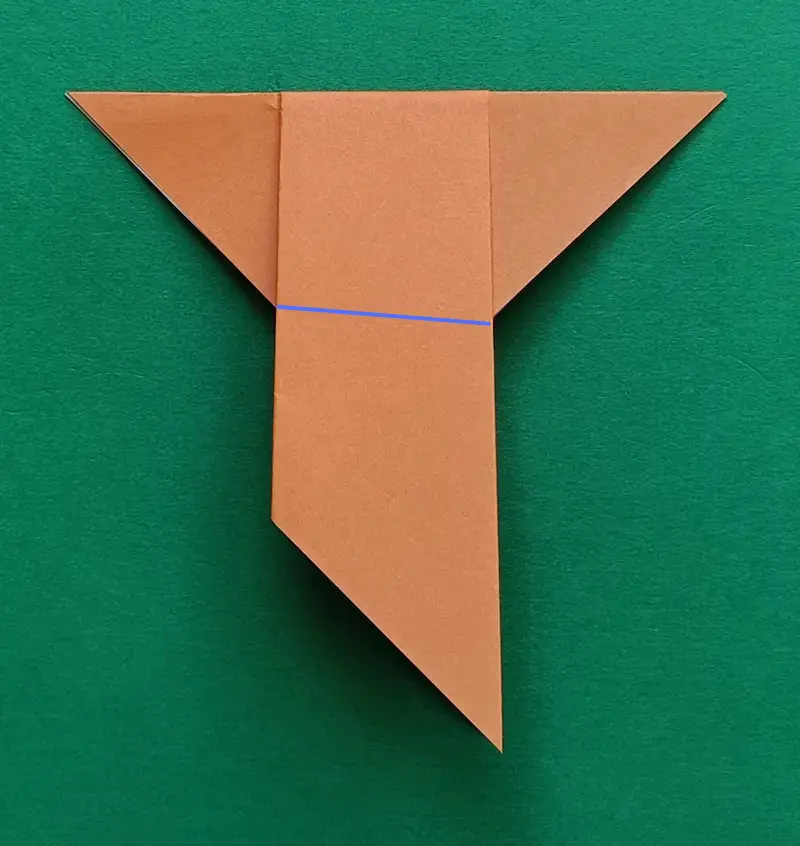
8. Fold the top layer up at a slight angle to make a wing.
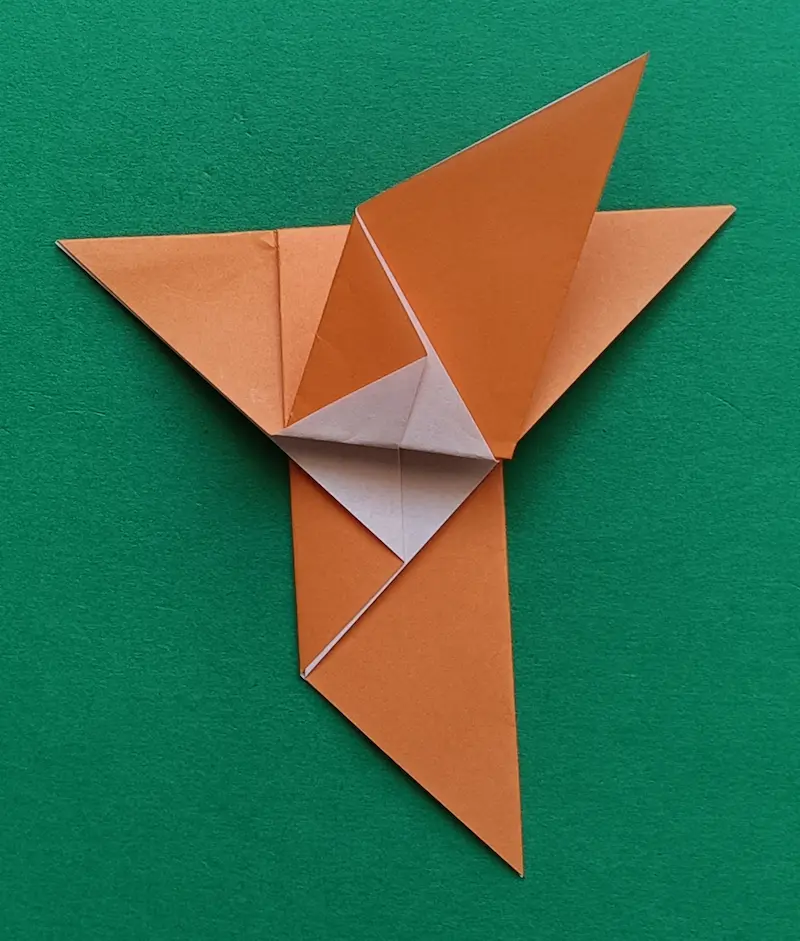
9. Do the same on the back for the second wing.
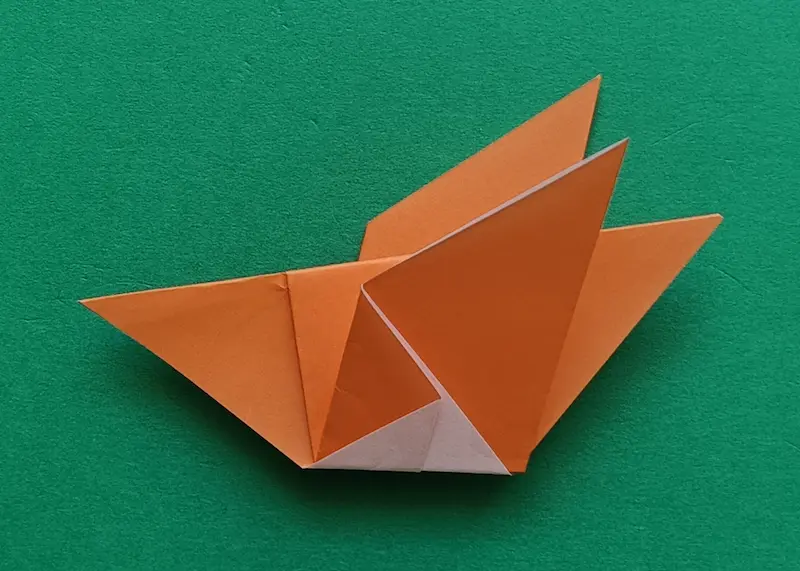
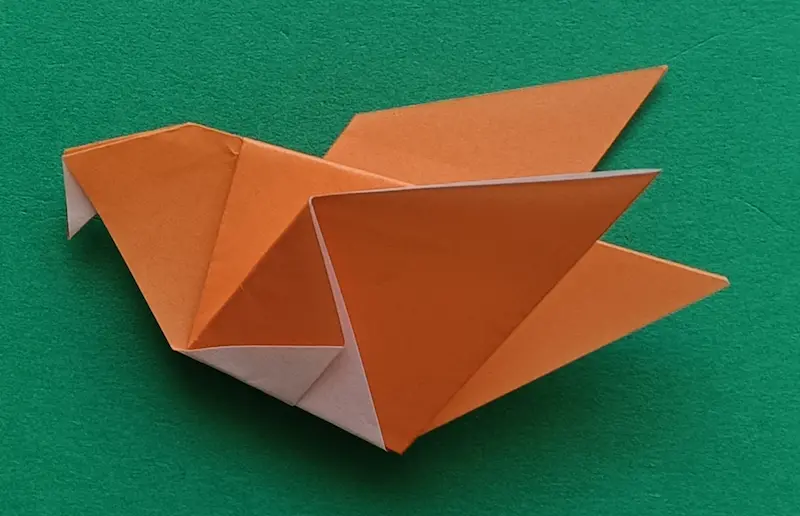
10. Inside-reverse fold the left corner to make a beak.
(Not sure how? Click here to see how to make an Inside-reverse fold!)

Why This Origami is Good for Kids
- Pigeons are common city birds, so kids can connect their paper model to birds they see every day
- The wing folds help children understand how birds move and balance
- It’s a great way to talk about how birds use beaks to eat and explore
Tips for Success
- Make sure your first triangle fold is even—this helps everything line up
- Keep the wings the same size so your pigeon looks balanced
- Don’t fold the head too big, or it may look more like a duck
- Try light gray paper to make your pigeon look more realistic
Common Mistakes
Q: The wings don’t look right.
A: Fold it up along the blue line.
Fun Ideas to Try
- Draw feathers on the wings with crayons or markers
- Place your pigeon near a window to look like it’s flying outside
- Build a small “park” scene with paper trees and benches
Fun Fact
Pigeons are excellent at finding their way home, even from very far away. Some pigeons have been used to carry messages across long distances!
In Japan, pigeons are often seen at shrines and are considered messengers of the gods. They are also loved as a symbol of peace.
Conclusion
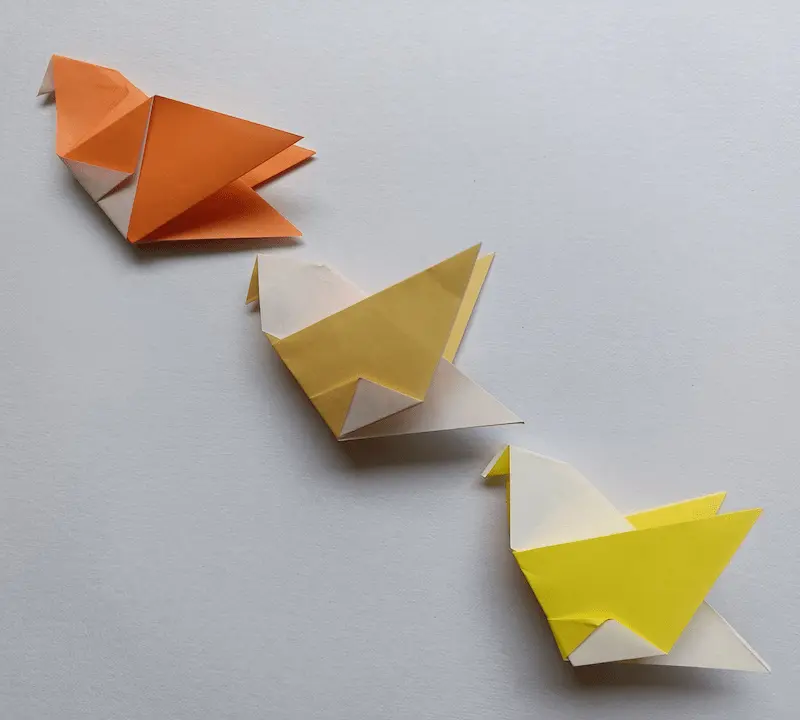
Great work! You’ve just made your own easy origami pigeon. It may be simple, but it has lots of charm and personality. You can make more and create a whole group of birds.
Keep folding and exploring—there are many more fun origami models waiting for you!
Try More Origami
Want to make more cute bird friends? Try these next!