Introduction
Do you want to make a tiny, adorable bird with just paper? This tutorial will show you how to create an easy origami chick step by step. It’s perfect for beginners and young kids.
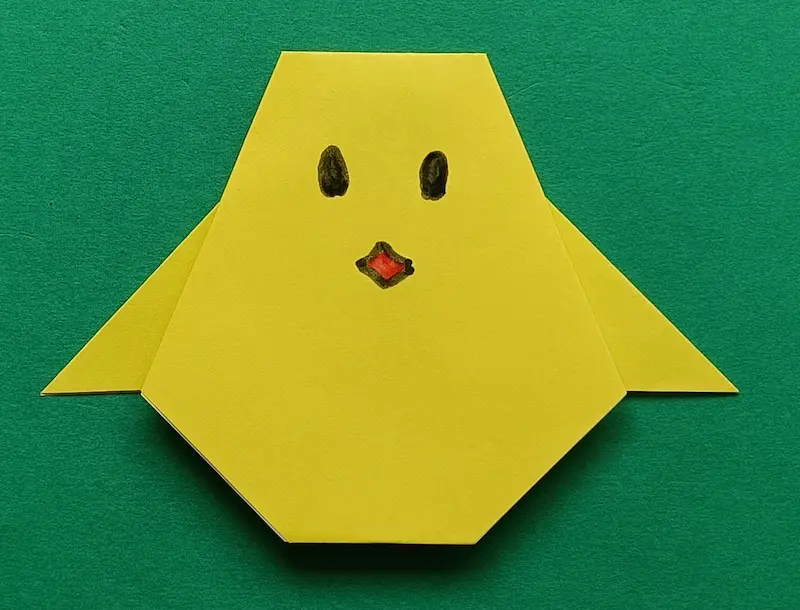
This little chick is bright, cute, and fun to play with. You can draw a happy face on it and even use it for stories or decorations. Let’s start folding and bring your chick to life!
Difficulty Level
Level 1 (Very Easy)
How long does it take?
4 to 6 minutes
Materials
- 1 sheet of square paper (15 x 15 cm is best)
- Markers to draw eyes and a beak
- A flat surface to work on
Step-by-Step Instructions
If you are new to origami, learning basic folds will make this easier.
👉 Click here to master basic folds first!
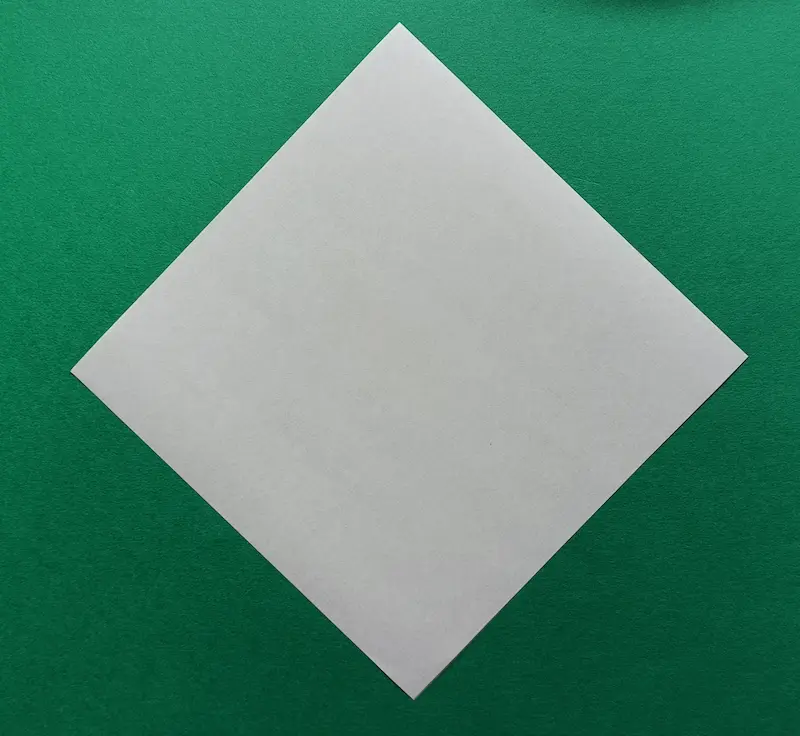
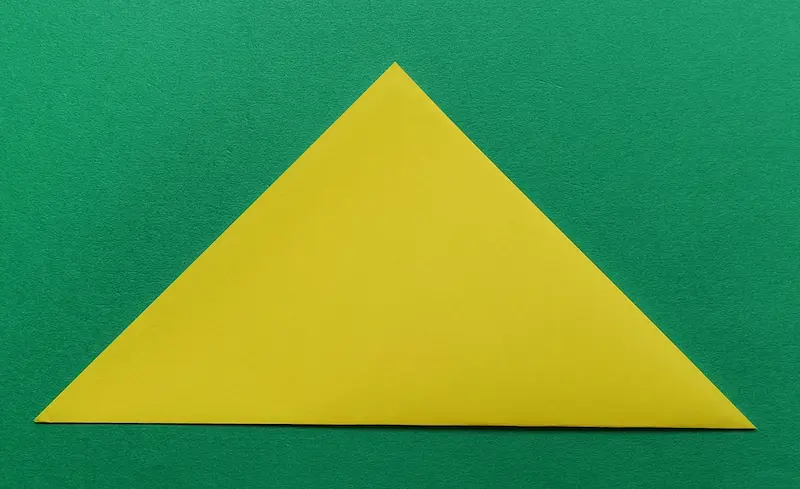
1. Place your square paper like a diamond shape on the table.
2. Fold the paper in half to make a triangle.
3. Fold the right corner diagonally.
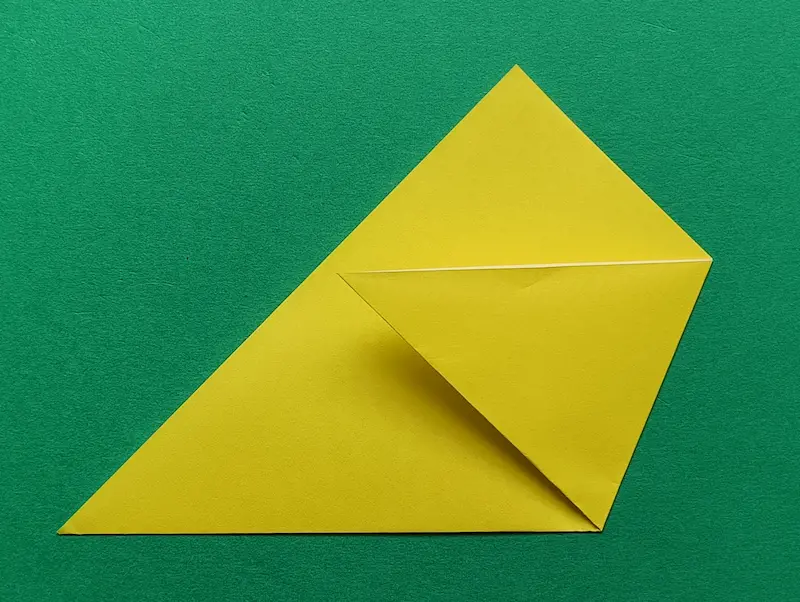
4. Fold the left corner diagonally.
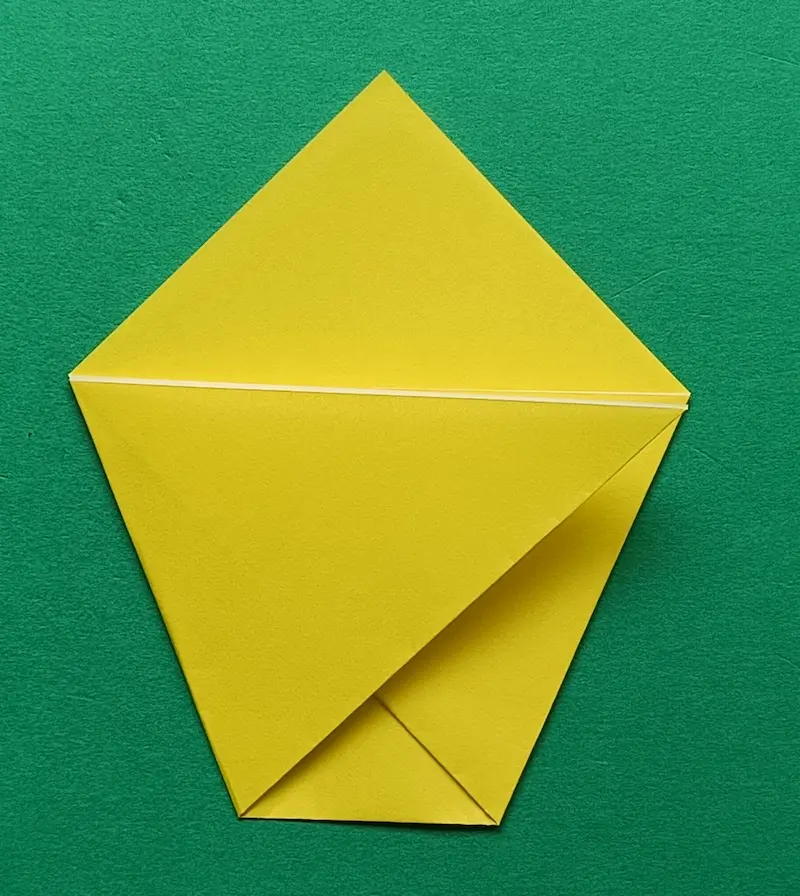
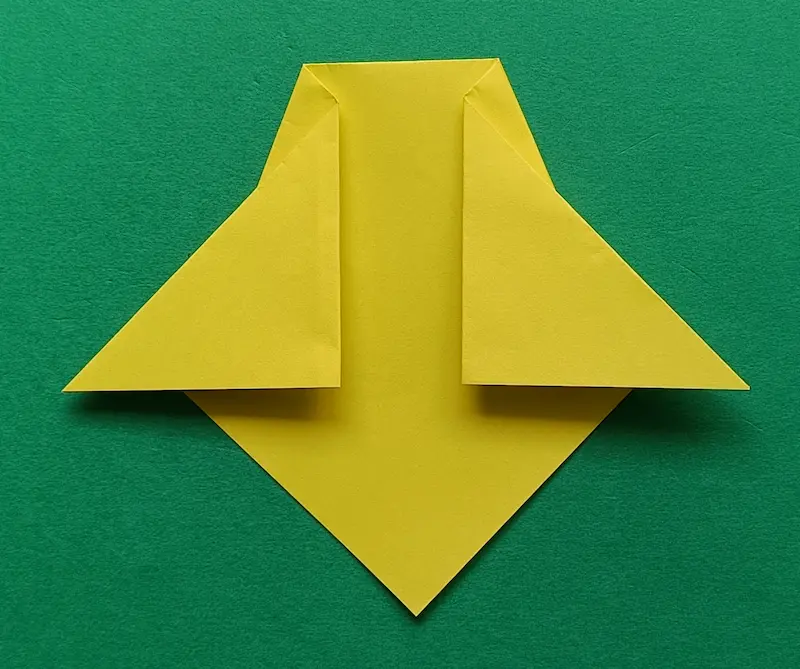
5. Fold left to make a wing.
6. Fold right to make the other wing.

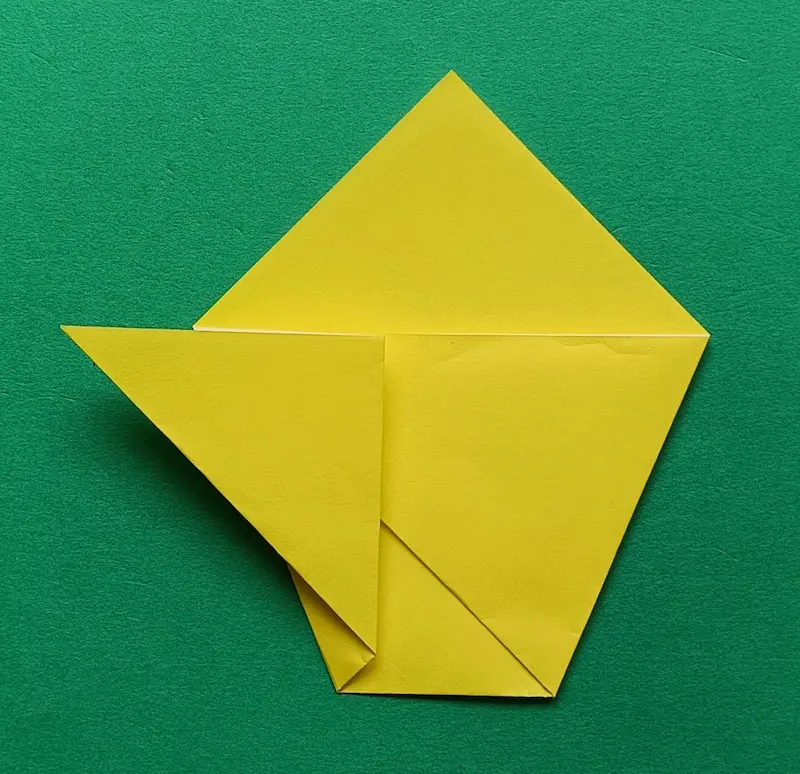
7. Turn it upside down.
8. Fold the bottom corner up just a little.
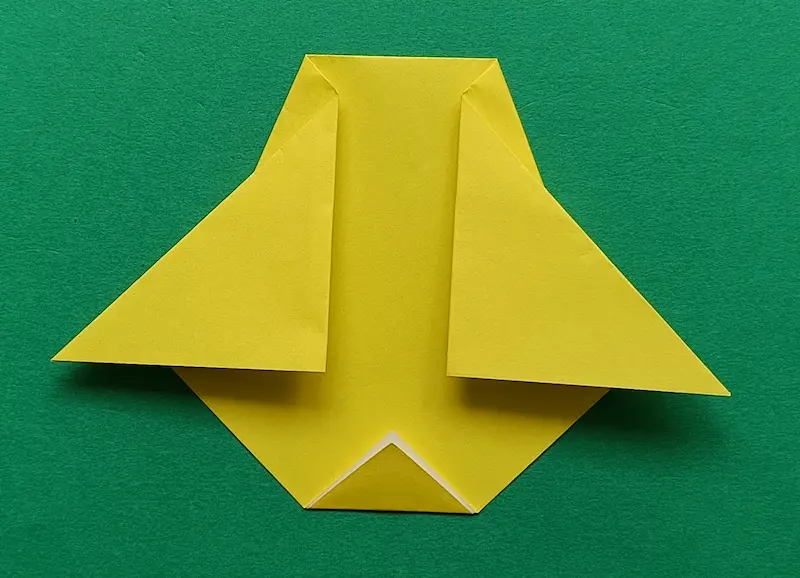
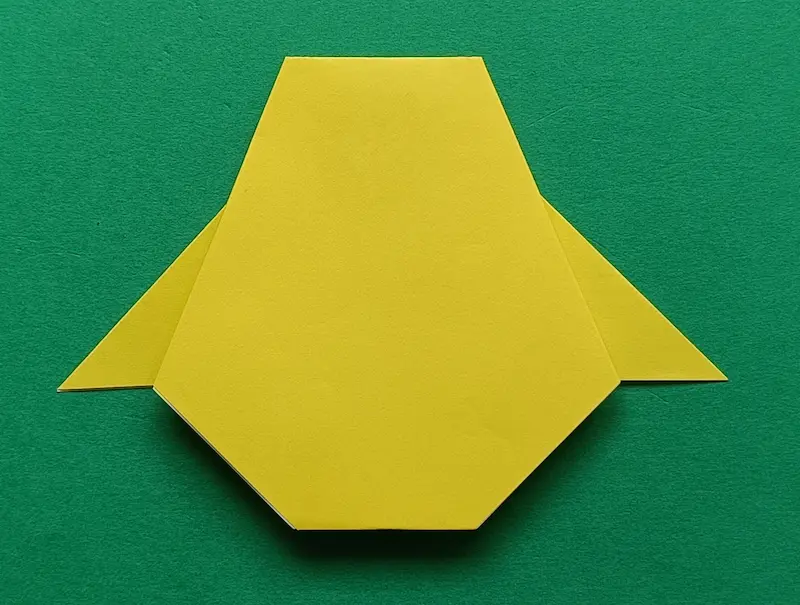
9. Turn it over.
10. Draw both eyes with a marker.
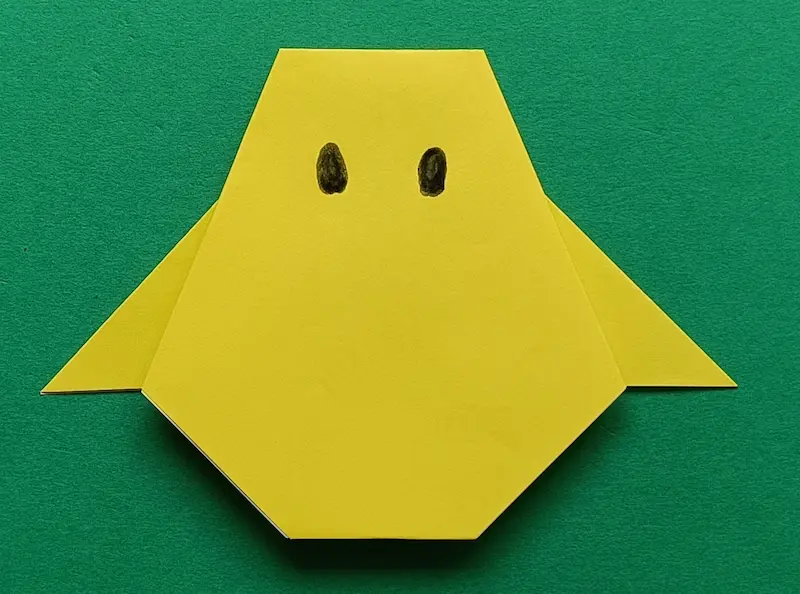
11. Draw a beak with a marker.
Why This Origami is Good for Kids
- Helps improve hand control and finger movement
- Builds focus and patience
- Encourages creativity with colors and faces
Tips for Success
- Use bright yellow paper to make your chick look more real.
- Press each fold firmly so your chick holds its shape.
- Draw the face slowly to give your chick personality.
- Try using smaller paper for tiny chicks.
Common Mistakes
Q: The wings don’t look the same. What should I do?
A: Try to make them the same size as the wing in Step 5.
Fun Ideas to Try
- Make a whole family of chicks in different sizes
- Draw funny faces like sleepy, surprised, or silly chicks
- Glue your chick onto a card for a handmade gift
- Create a paper farm scene with grass and eggs
- Turn your chick into a finger puppet by adjusting the folds
Fun Fact
Real baby chicks can talk to each other before they even hatch from their eggs!
Conclusion
Great job! You have made your own easy origami chick. It may be simple, but it is full of charm and fun. Keep practicing, and soon you will be able to create many different animals.
Try More Origami
Want to fold more cute birds? Let’s try these next!