
Introduction
Let’s make a bright and cheerful paper flower! In this tutorial, you will learn how to create an easy origami tulip step by step. It’s simple, fun, and perfect for beginners.
This tulip looks lovely on its own or in a bunch. You can give it as a gift, use it for decoration, or play with it like a little paper garden. The folds are easy to follow, so anyone can try it.
Difficulty Level
Level 1 (Very Easy)
How long does it take?
5 to 7 minutes
Materials
- 2 square papers (15 x 15 cm is best)
- A flat surface to work on
Step-by-Step Instructions
If you are new to origami, learning basic folds will make this easier.
👉 Click here to master basic folds first!
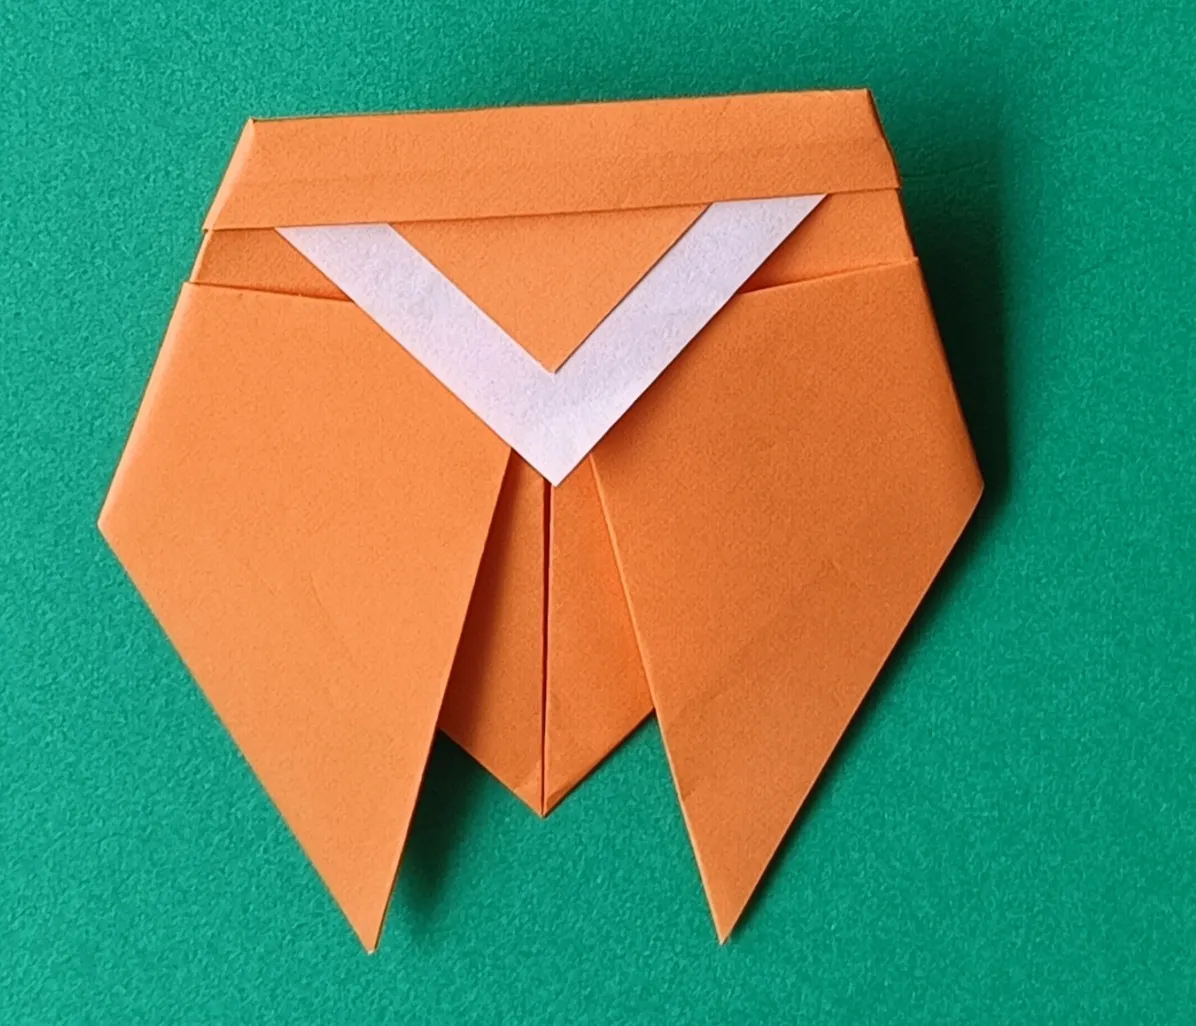
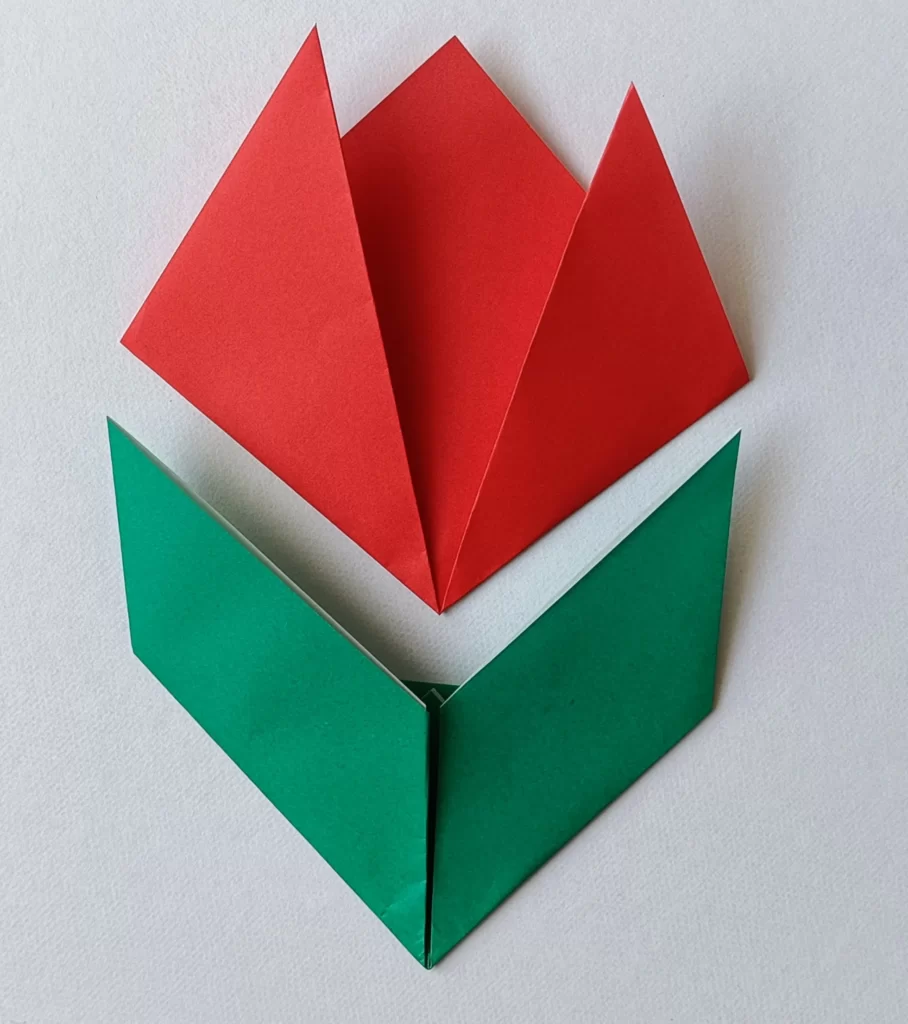
Folding the Tulip Flower
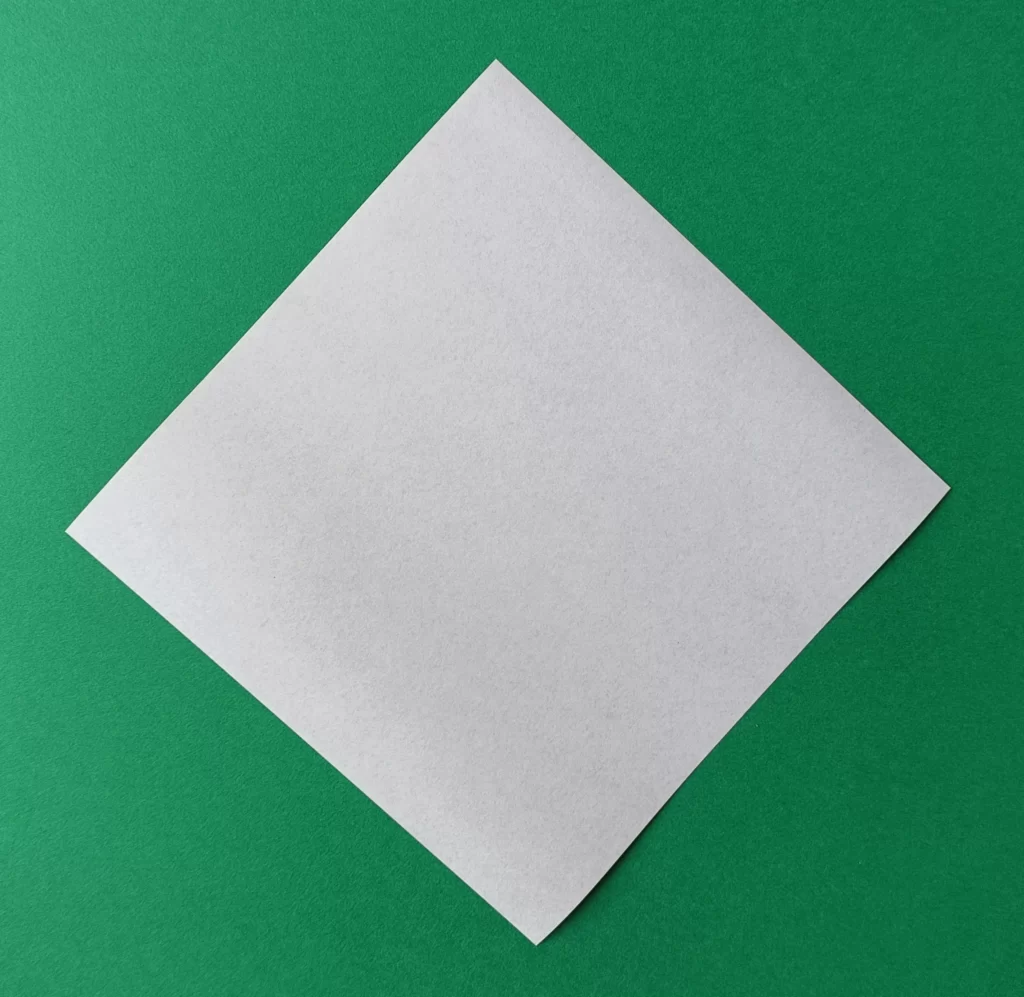
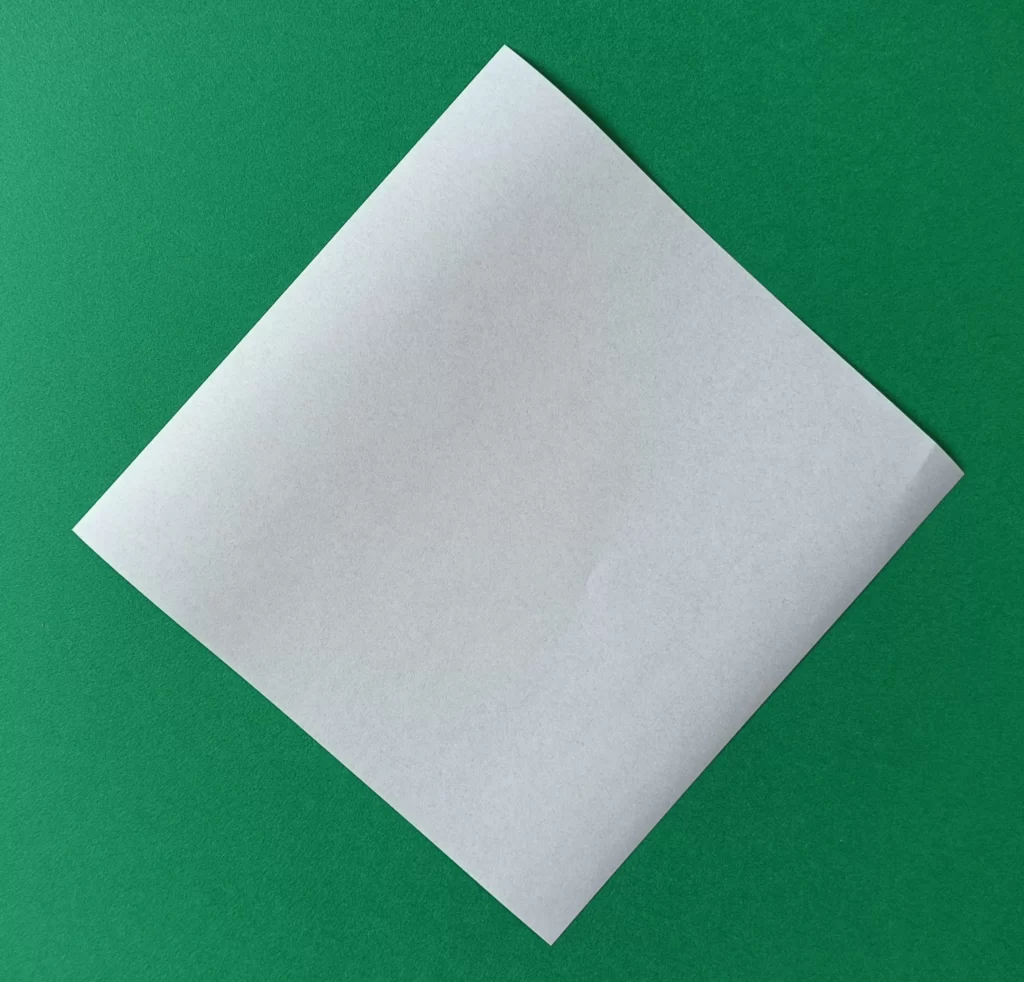
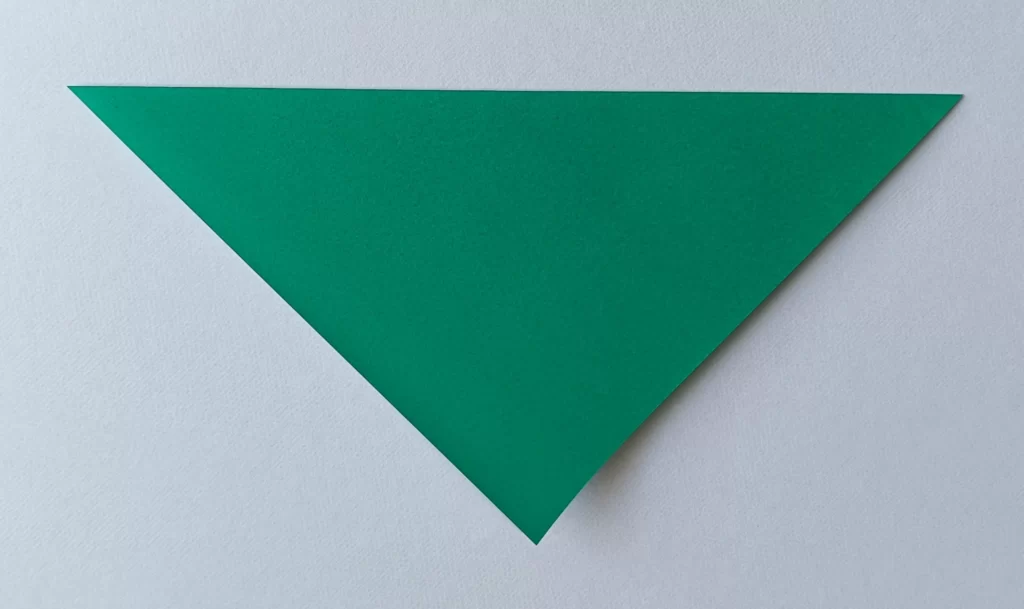
1. Place your square paper on the table like a diamond.
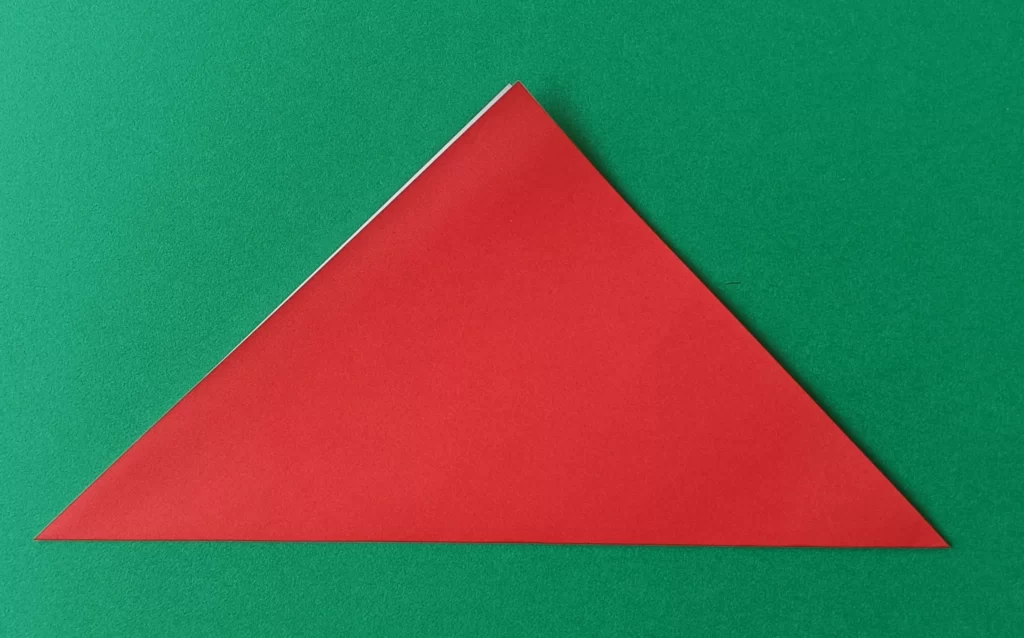
2. Fold the paper in half to make a triangle.
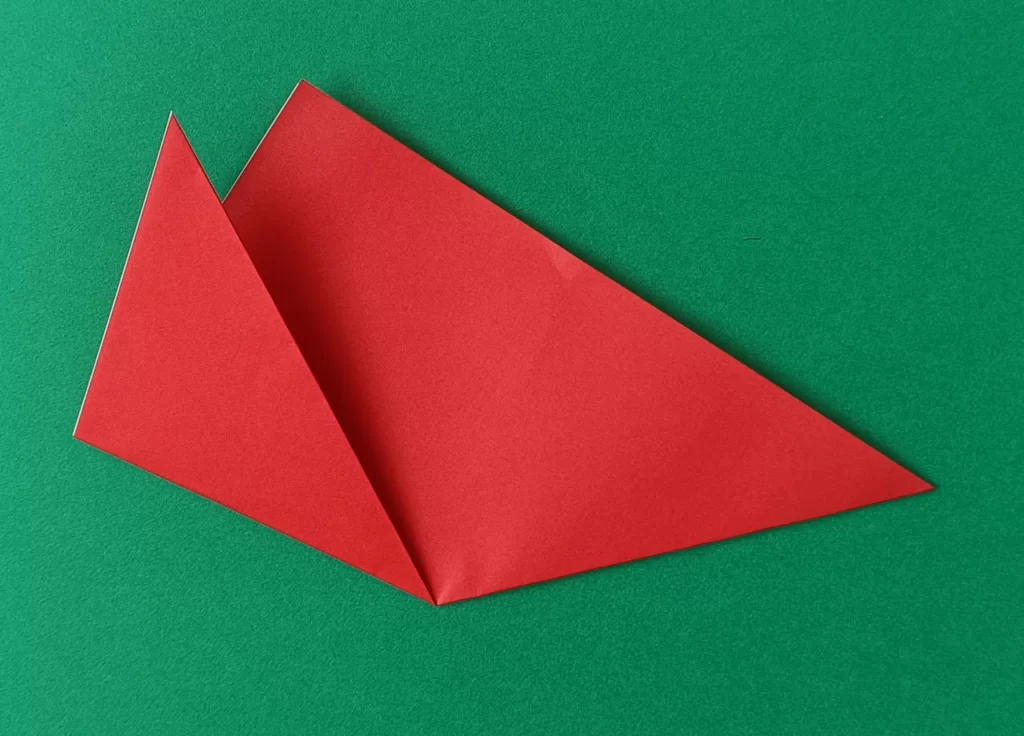
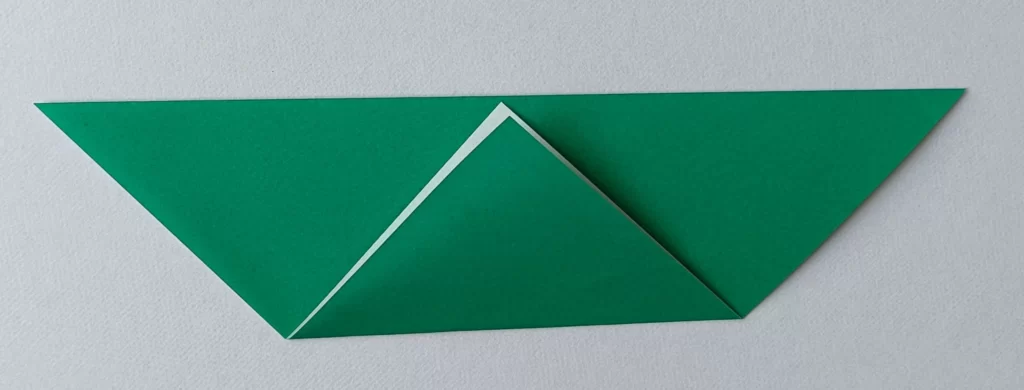
3. Fold the left corner up from the center to make a petal.
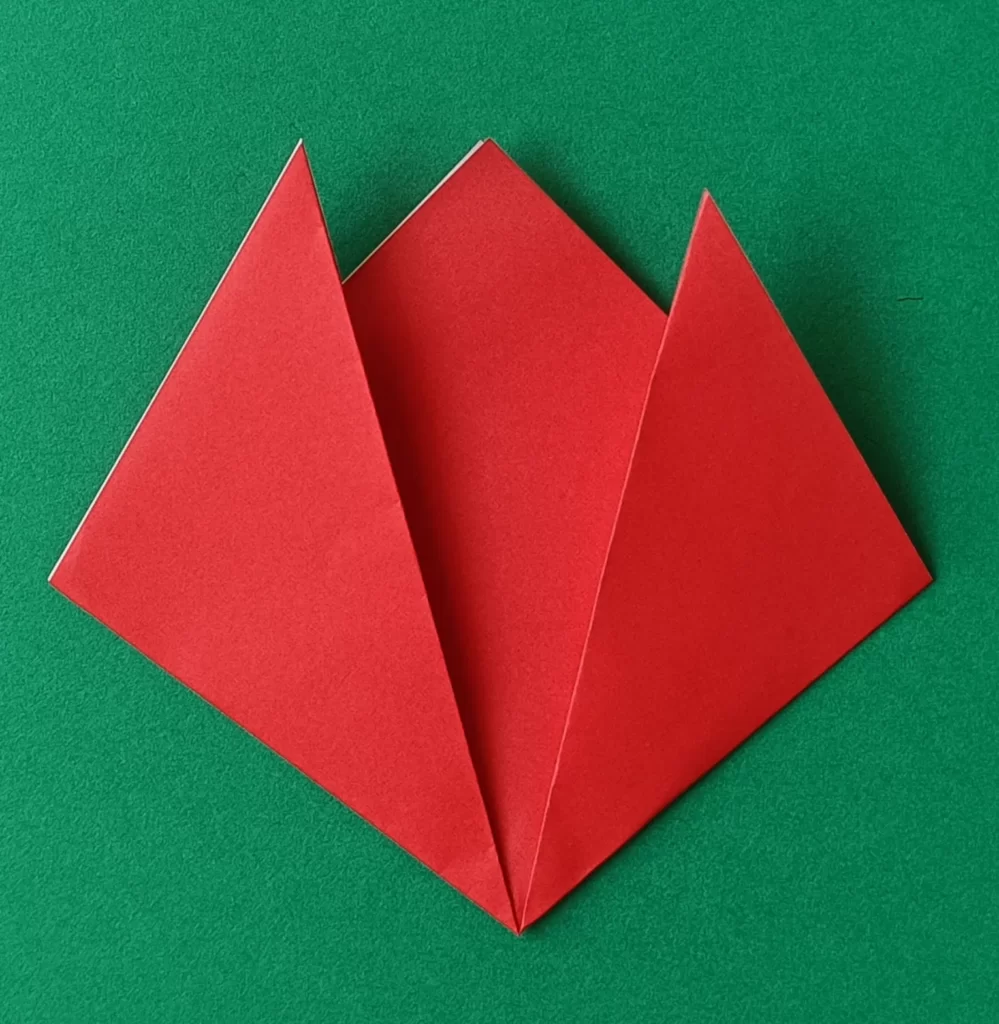
4. Fold the right corner up from the center to make the other one.
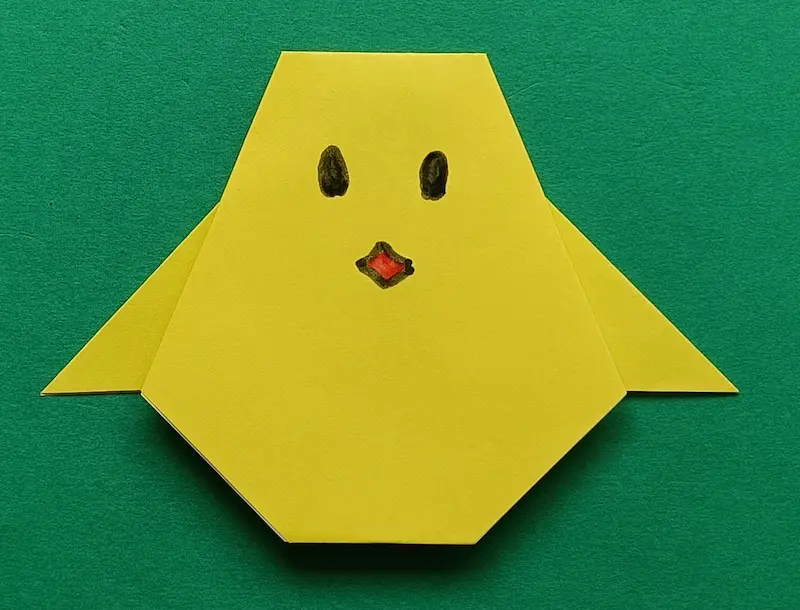
Folding the Leaf
1. Place your square paper on the table like a diamond.
2. Fold the paper in half to make a triangle.
3. Fold the bottom corners up.
4. Fold the right corner up from the center.
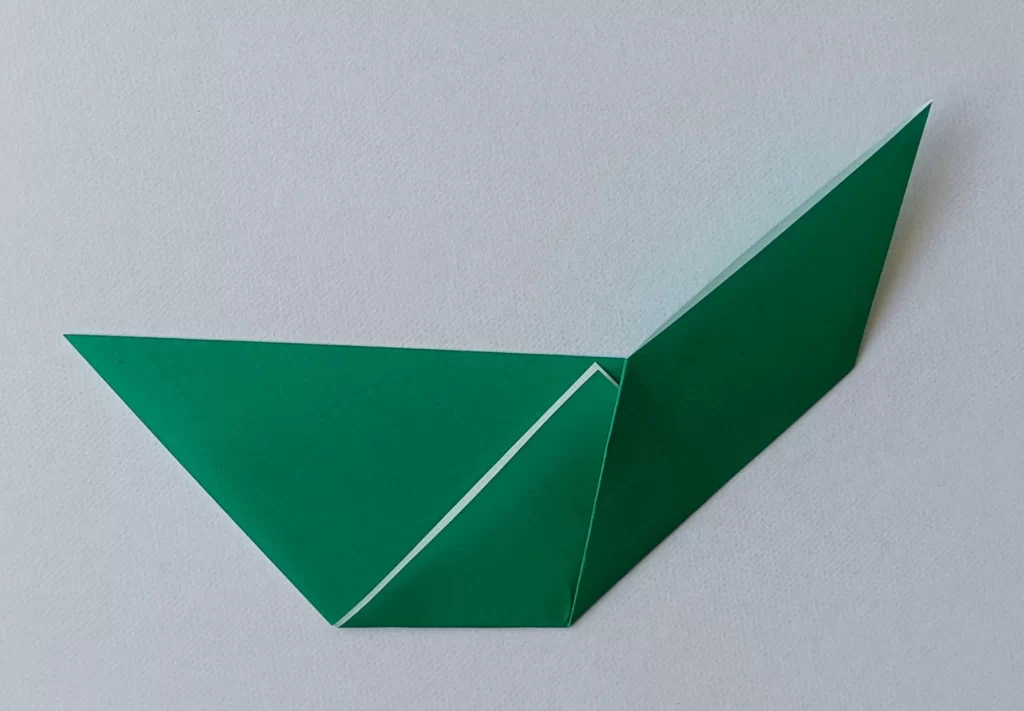
5. Fold the left corner up from the center.
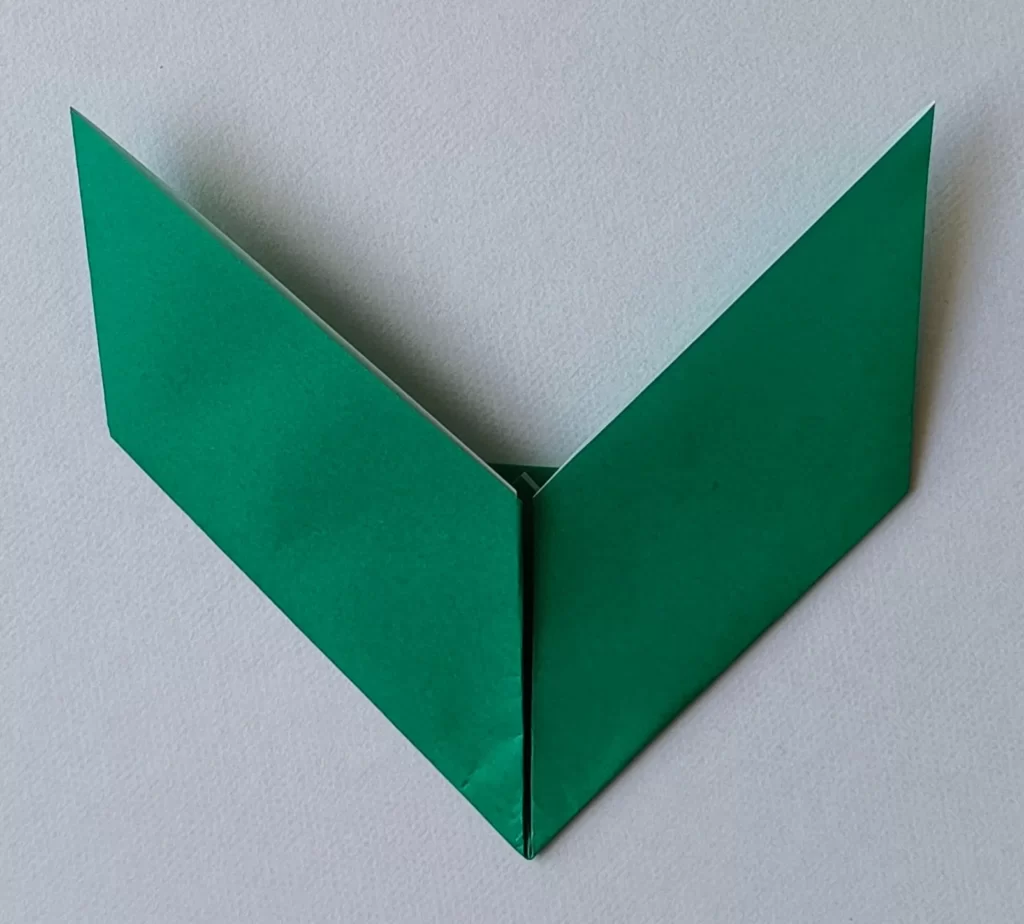
Final Assembly
1. Join it with the flower.
Why This Origami is Good for Kids
- Teaches children how simple folds can turn into a real-looking flower
- Great for making handmade gifts for family and friends
- Helps kids enjoy nature themes through creative play
Tips for Success
- Make sharp creases by pressing firmly.
- Take your time with each step.
- If it looks uneven, gently adjust the folds.
- Try practicing once before making your final version.
Common Mistakes
Q: My petals are asymmetrical. How can I fix this?
A: It’s okay! Even if they are not perfectly even, every flower in nature is different. That makes your tulip unique and special. If you want a more balanced look, try to match the angles of the left and right folds.
Fun Ideas to Try
- Draw patterns or faces on your tulip petals
- Make a bouquet using different colored papers
- Tape several tulips together to decorate your room
- Give your tulip as a handmade gift
Fun Fact
Did you know that tulips were once more expensive than gold? Long ago in the Netherlands, people loved these flowers very much!
In Japan, the tulip is one of the first origami shapes children learn in kindergarten. It’s a symbol of the beginning of spring!
Conclusion
Great job! You’ve just made your very own easy origami tulip. It’s a simple project, but it looks beautiful and feels special because you made it yourself.
Keep practicing and try using different colors and sizes. You can even create a whole paper garden!
Try More Origami
Did you have fun folding the tulip? Now that your flower is ready, why not make a cute animal friend for it? Check out our “Easy Origami Dog” tutorial to create a little puppy to play in your paper garden! I am also preparing more flower tutorials like roses and sunflowers, so please stay tuned.