
Introduction
Making a paper fish is a wonderful way to start your origami journey. In this guide, you will learn how to create a bright and playful goldfish using simple folds.
This easy origami goldfish is perfect for beginners. It looks cute, and you can decorate it in many fun ways. You can even make a whole school of fish to “swim” across your room!
Difficulty Level
Level 1 (Very Easy)
How long does it take?
4 to 6 minutes
Materials
- 1 square paper (15 x 15 cm is best)
- Marker
- A flat surface to work on
Step-by-Step Instructions
If you are new to origami, learning basic folds will make this easier.
👉 Click here to master basic folds first!
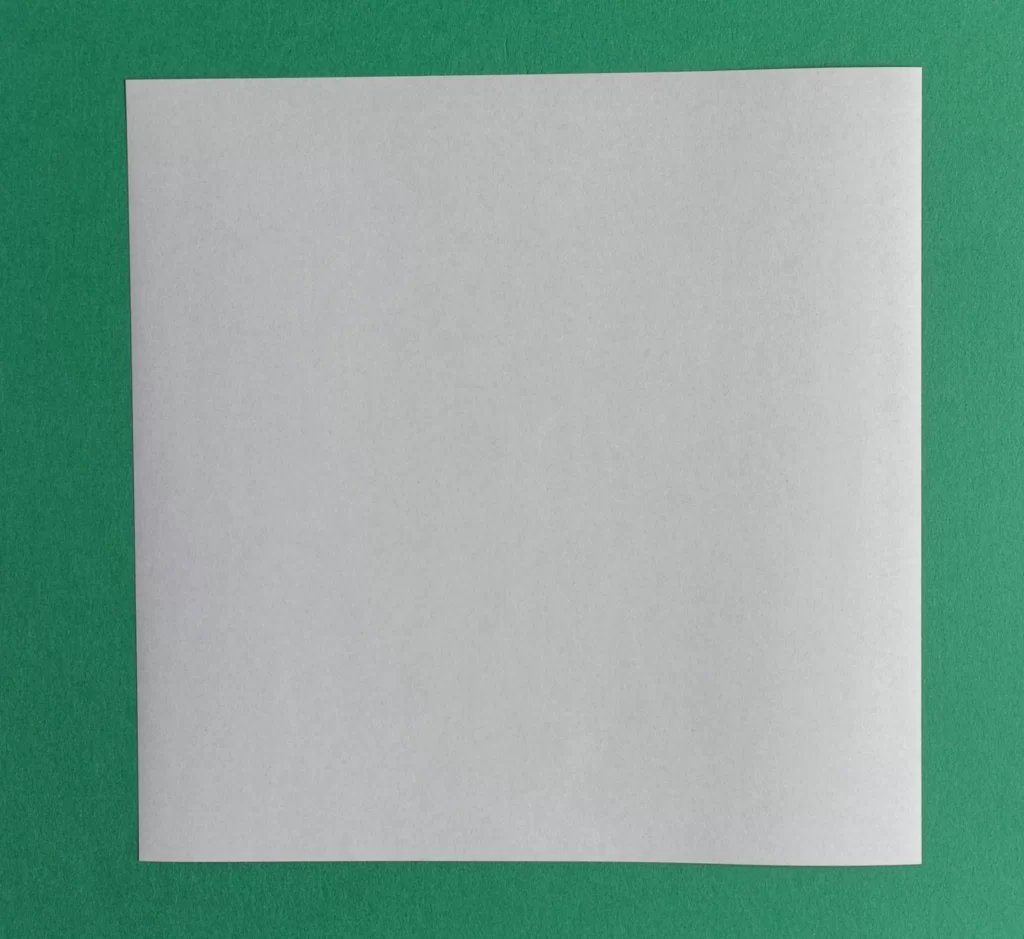
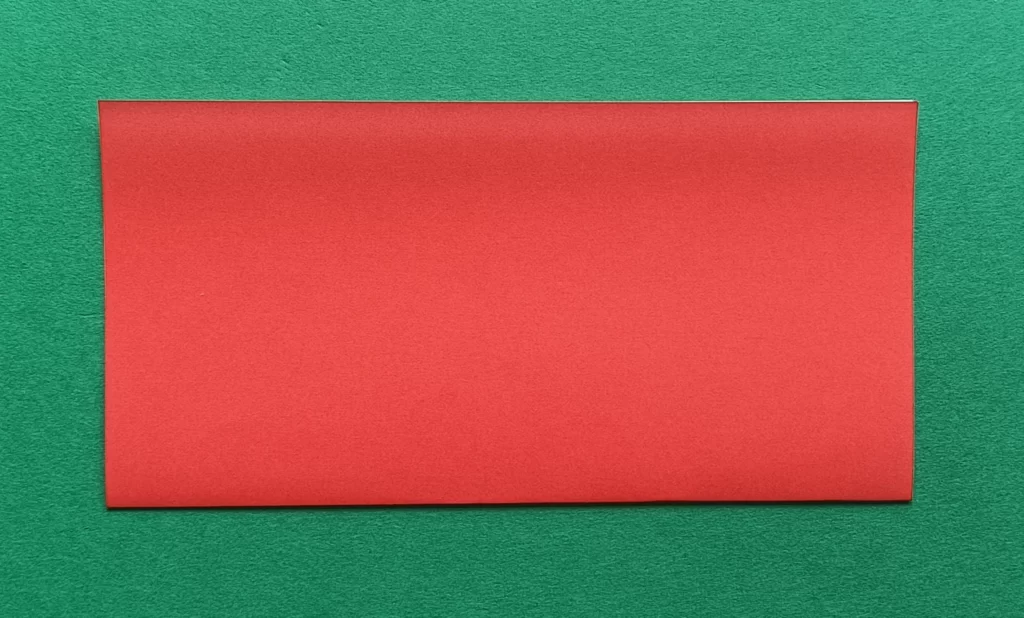
1. Place your paper on the table.
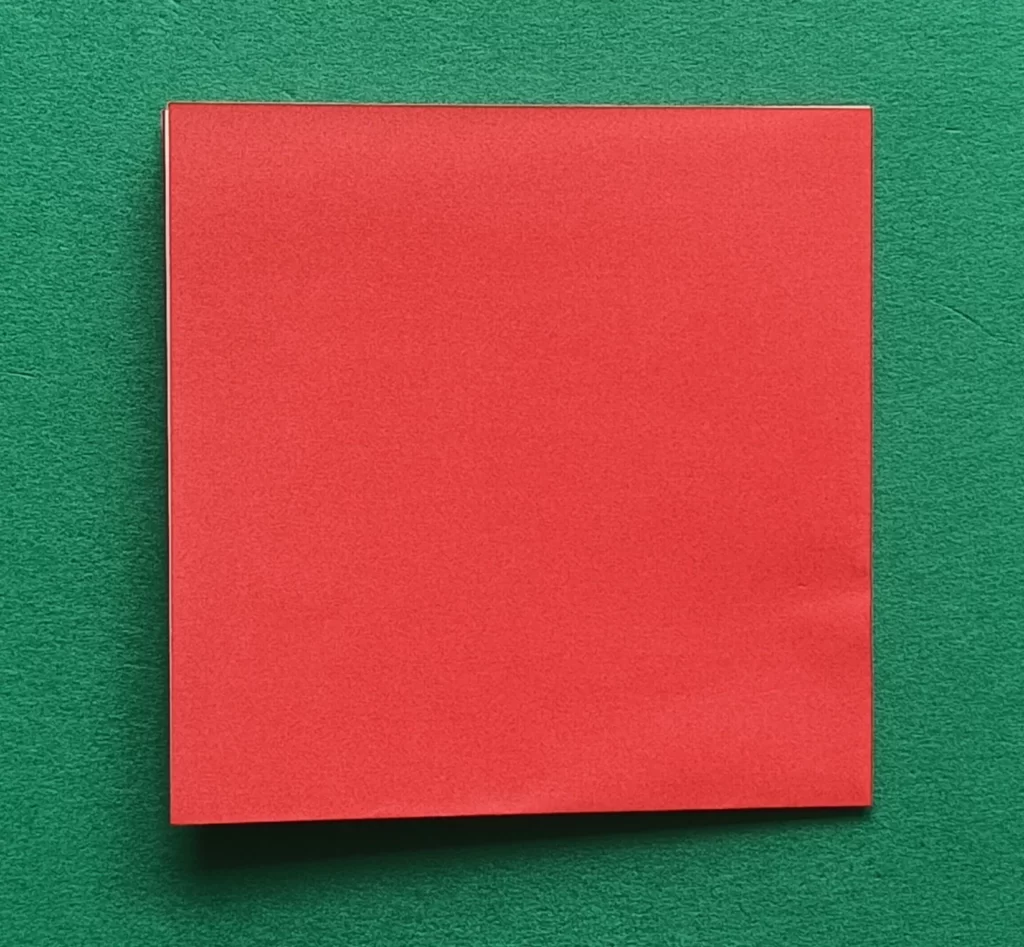
2. Fold the paper in half by matching the bottom corner to the top.
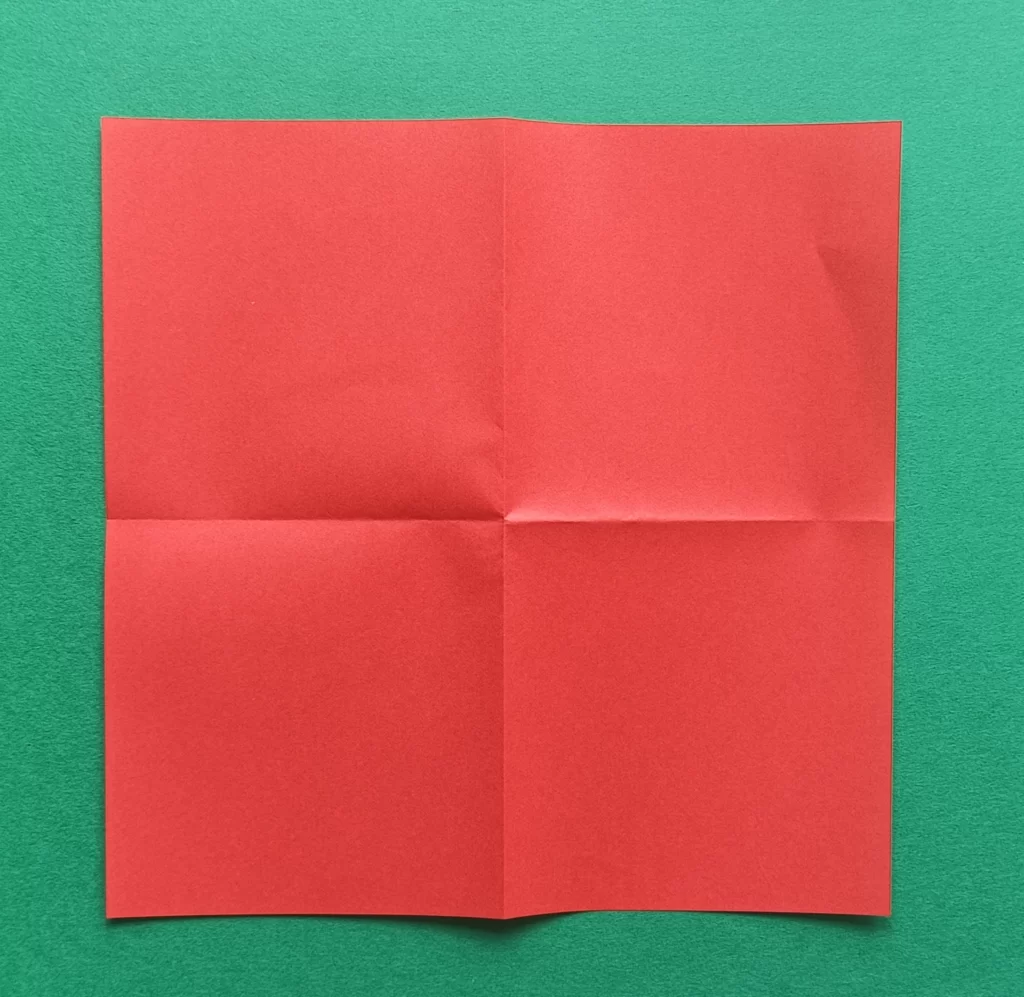
3. Fold it to the left.
4. Open it all the way up.
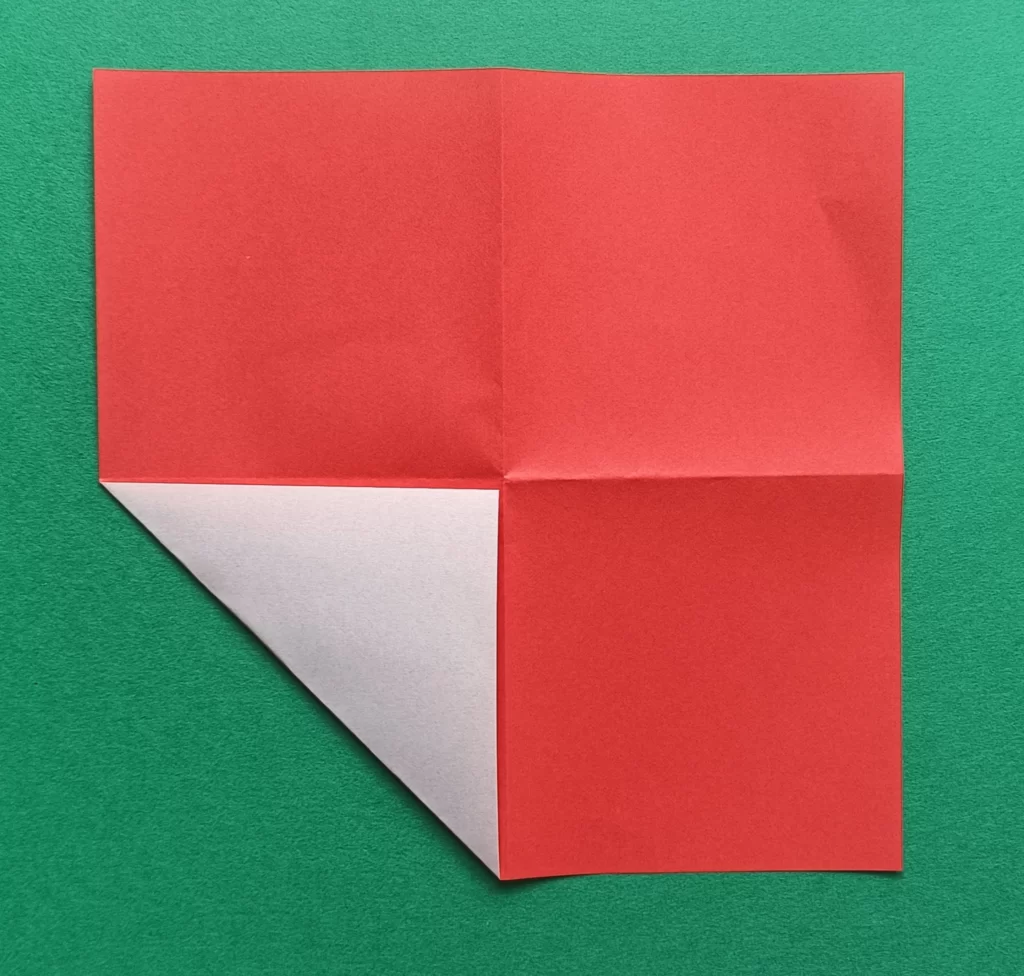
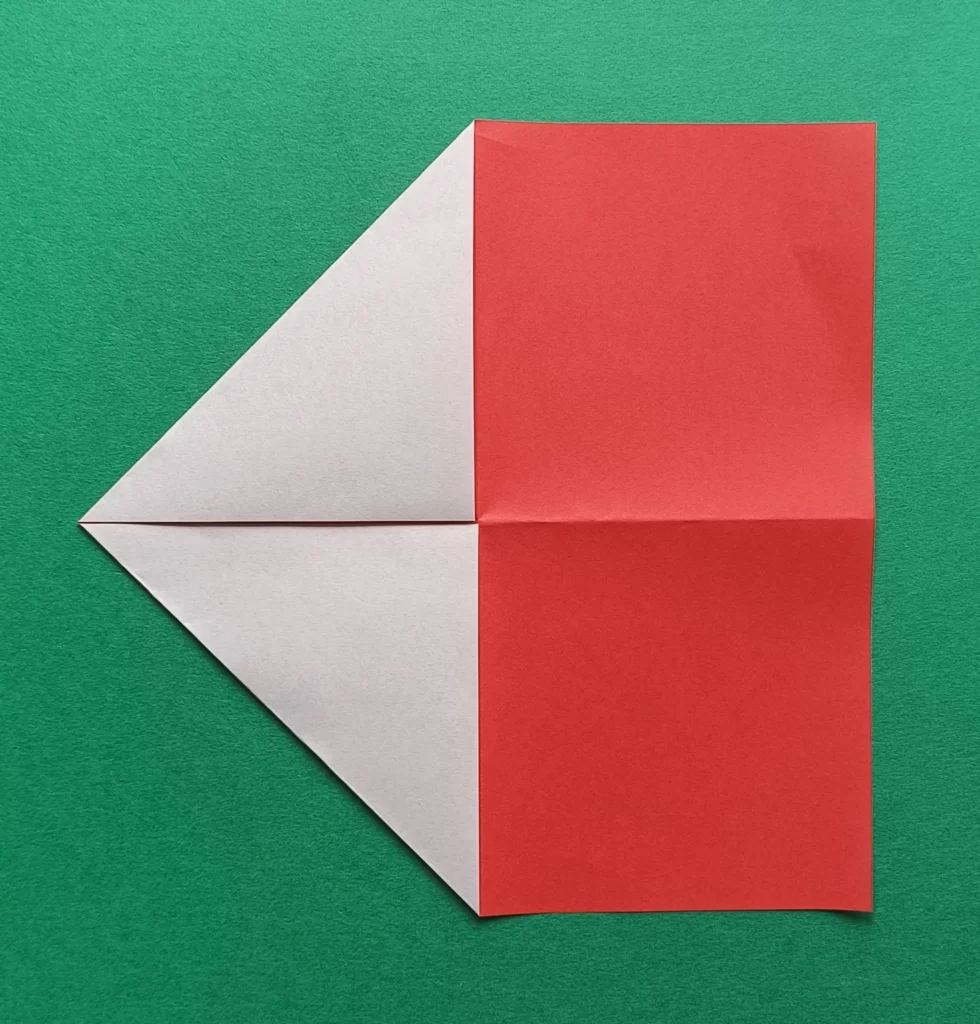
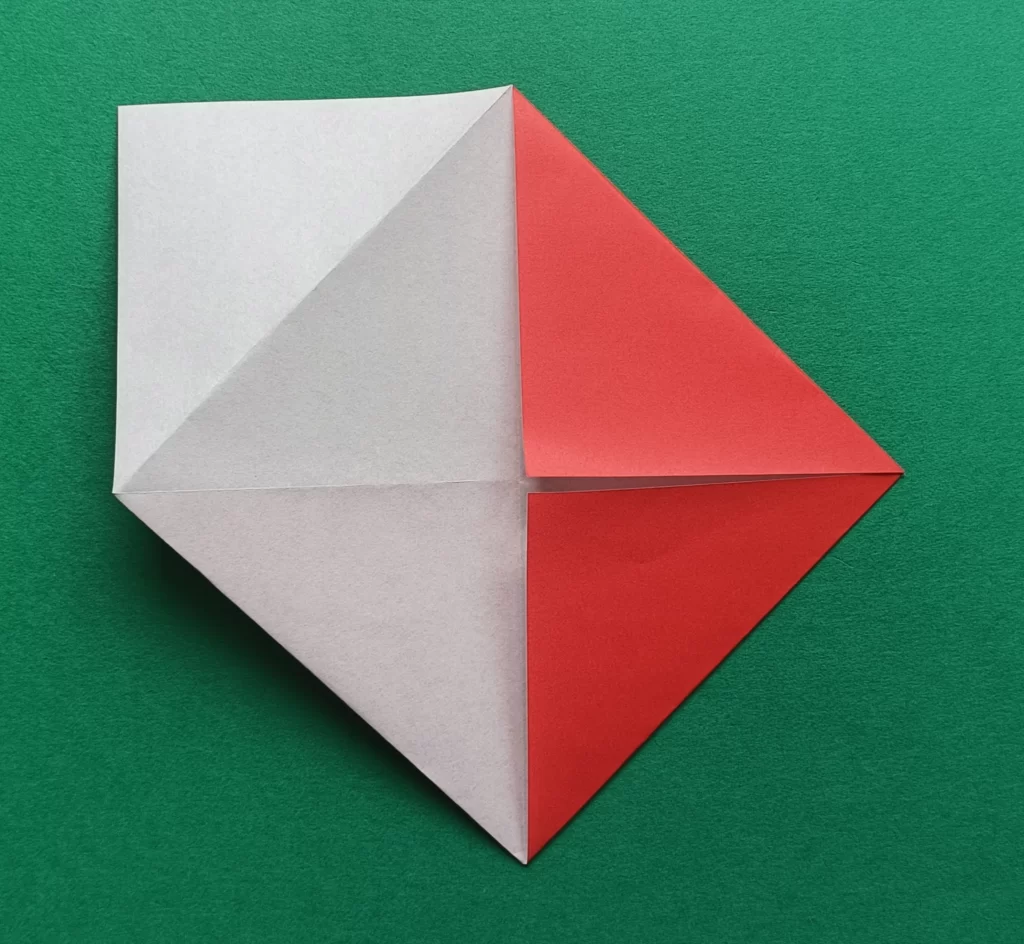
5. Fold the bottom left corner to the middle.
6. Fold the top left corner to the middle.
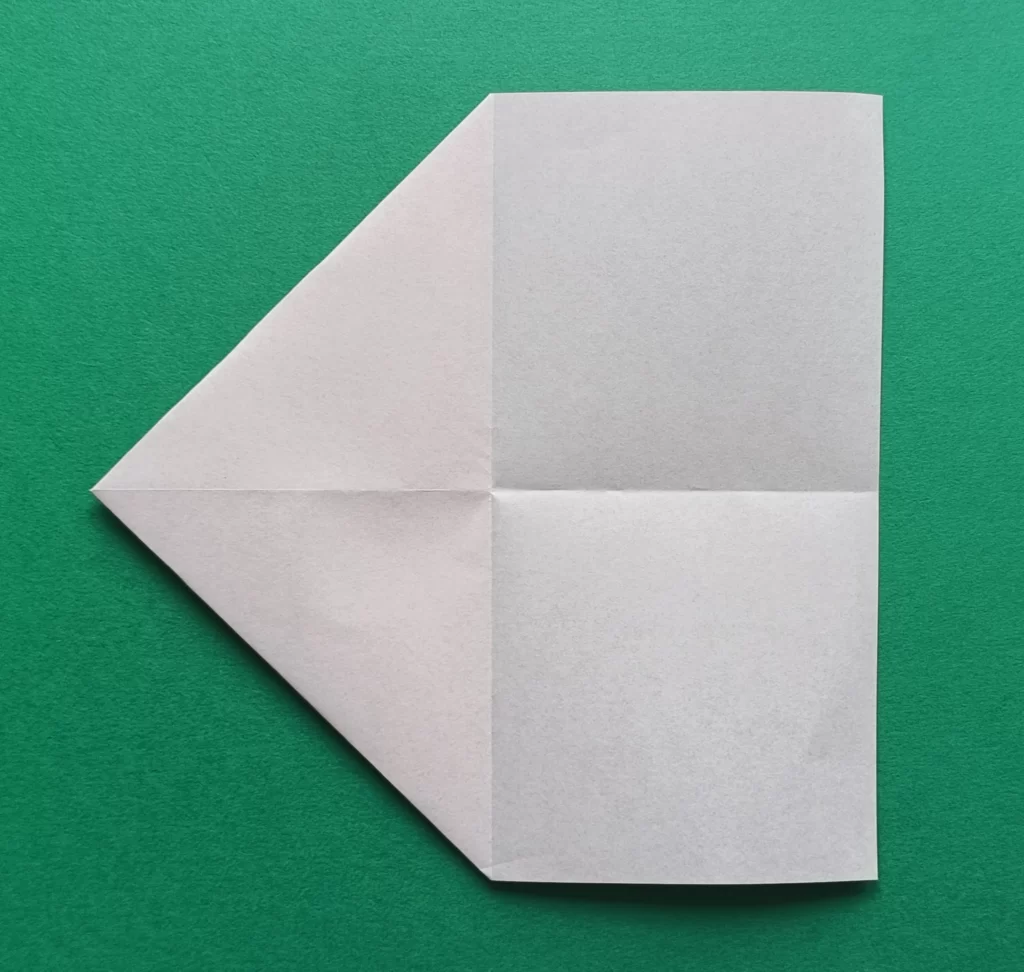
7. Turn it over.
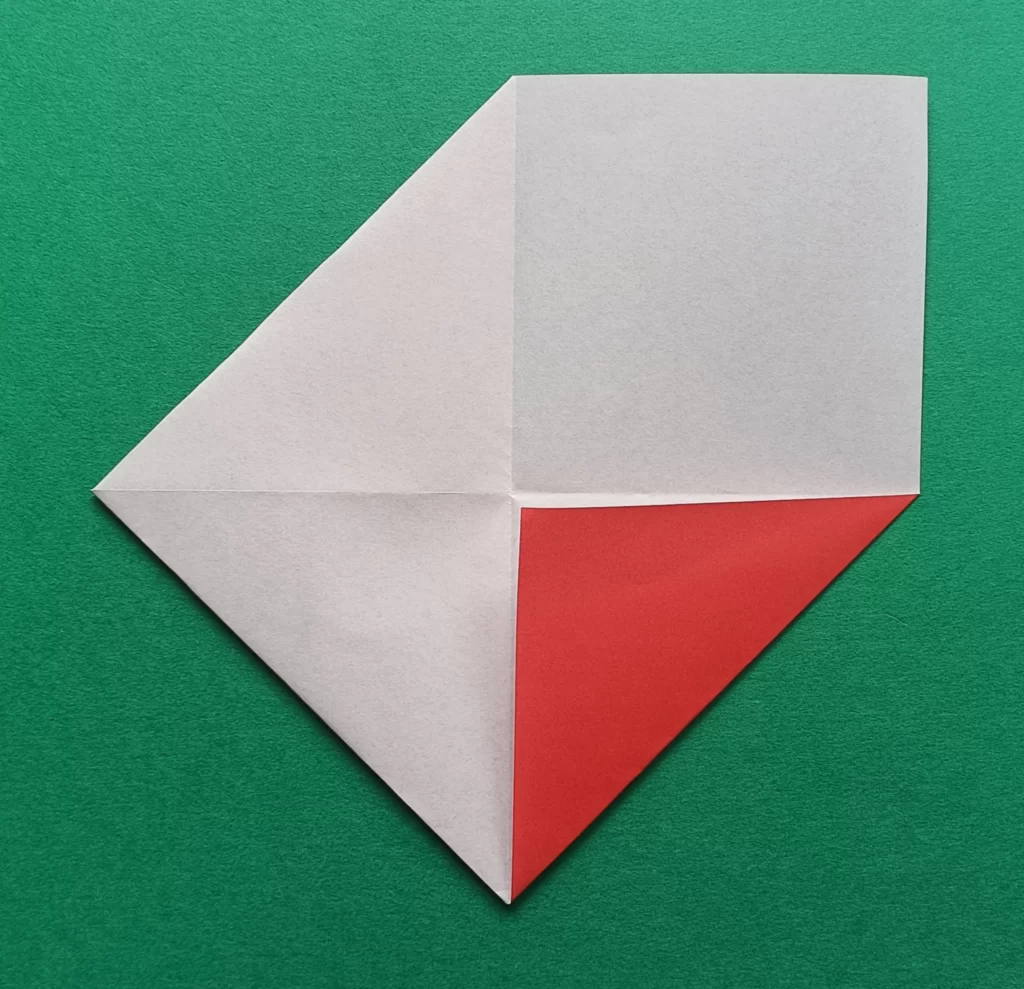
8. Fold the bottom right corner to the middle.
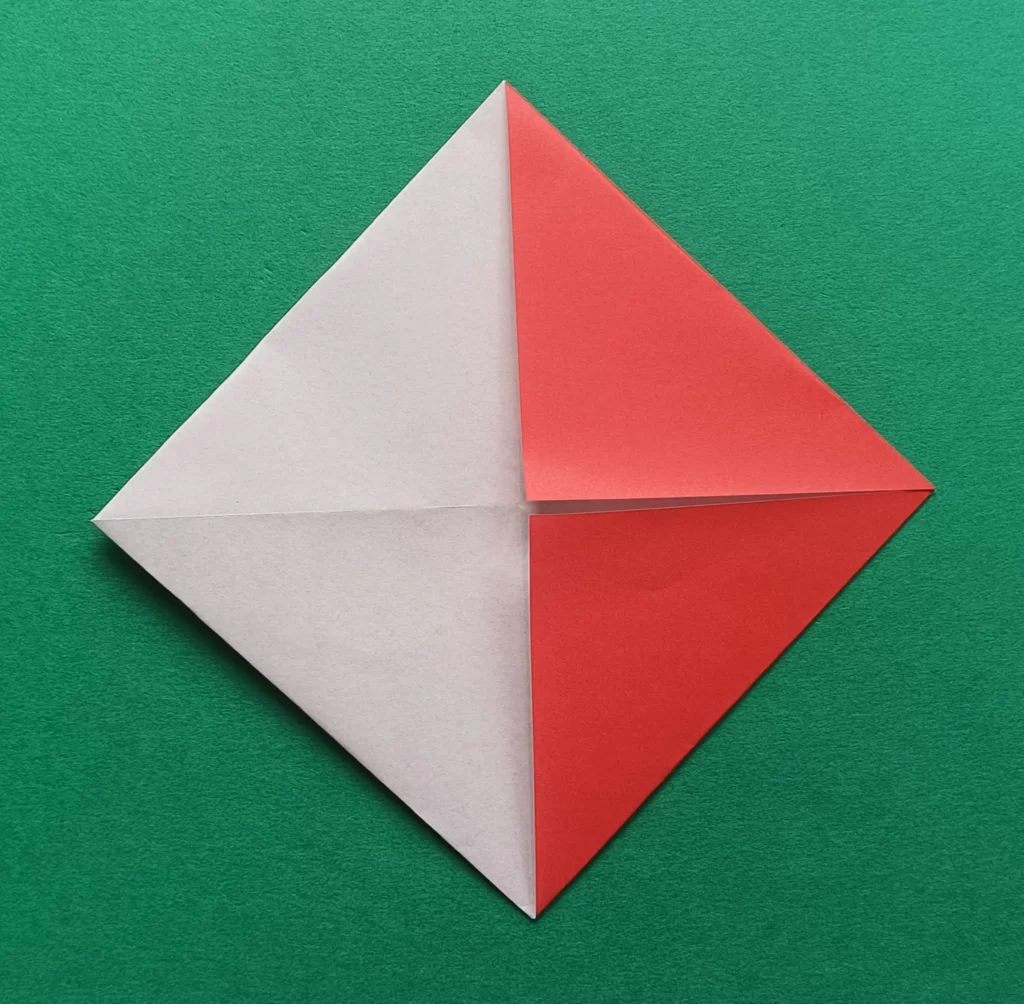
9. Fold the top right corner to the middle
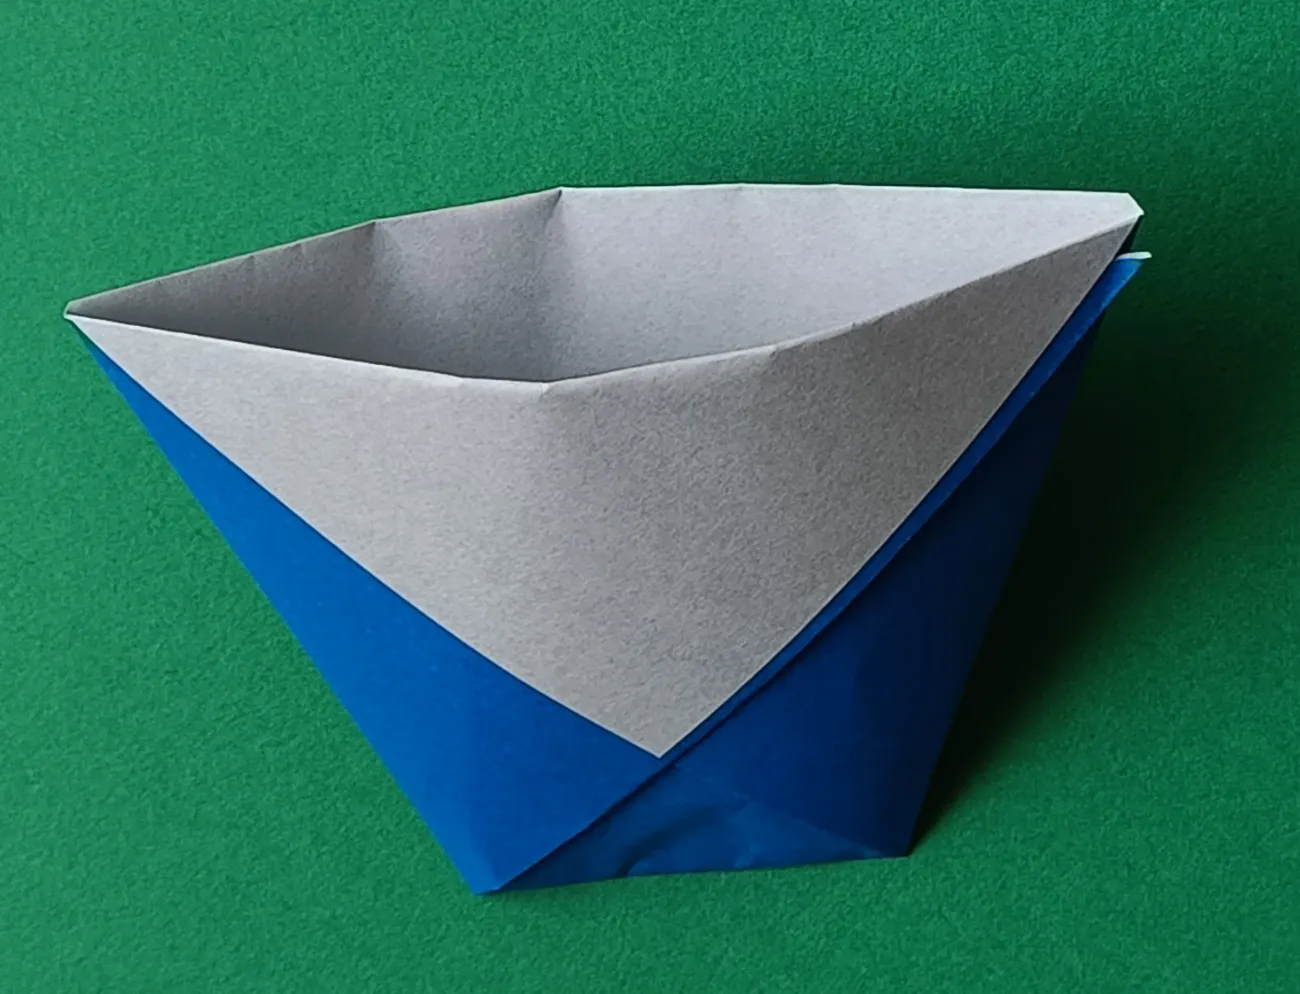
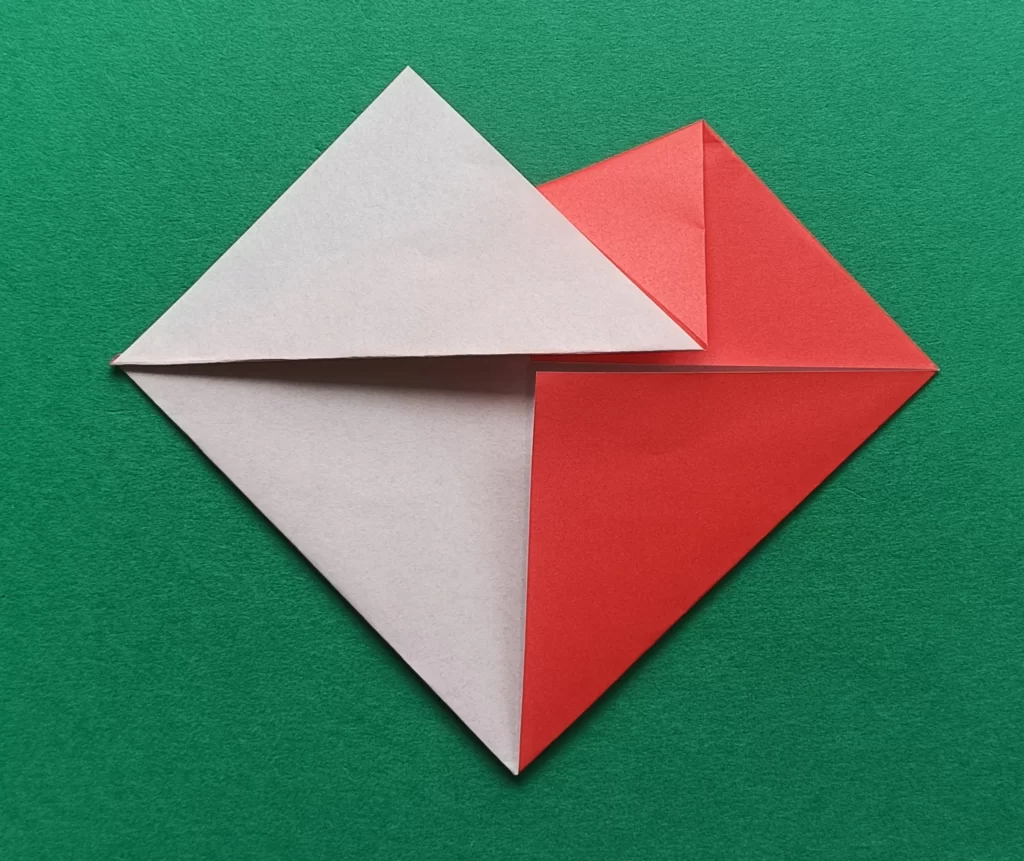
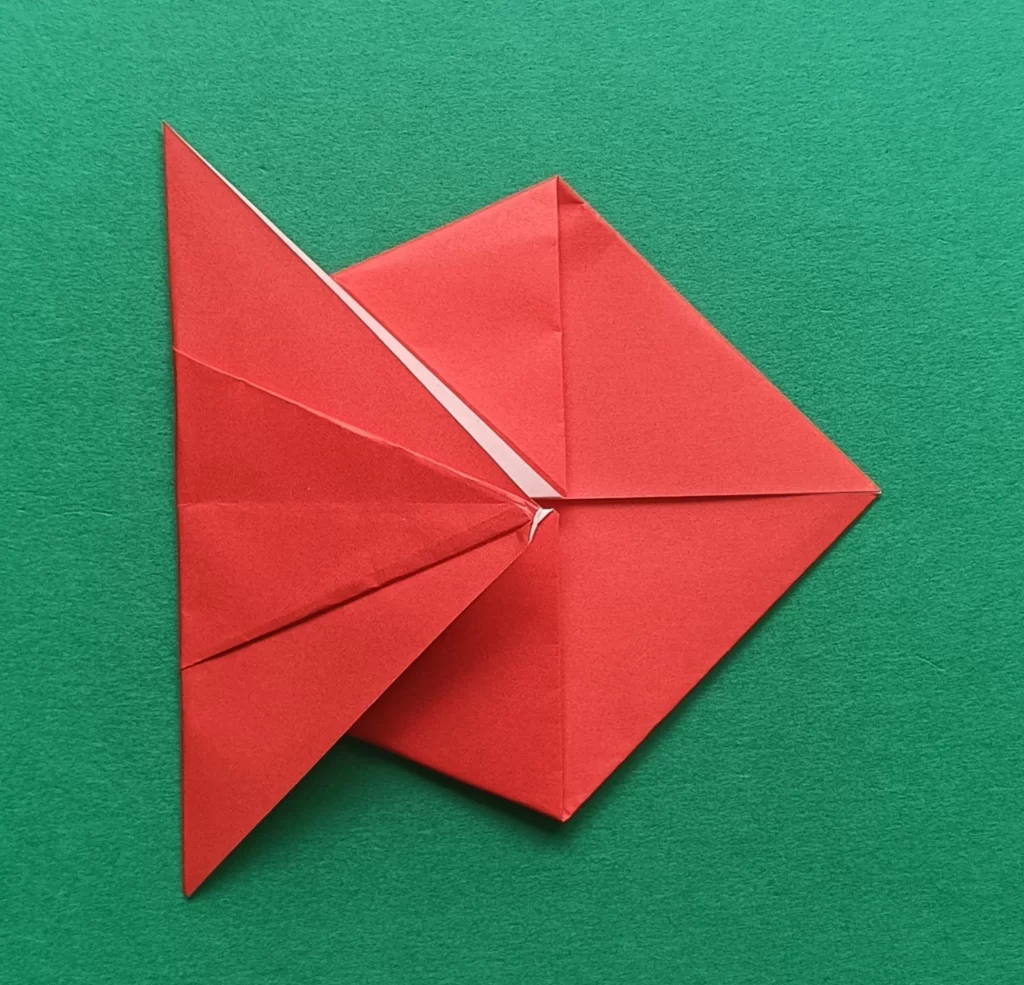
10. Open the top-left corner.
11. Fold the top left to the middle.
12. Open the bottom-left corner.
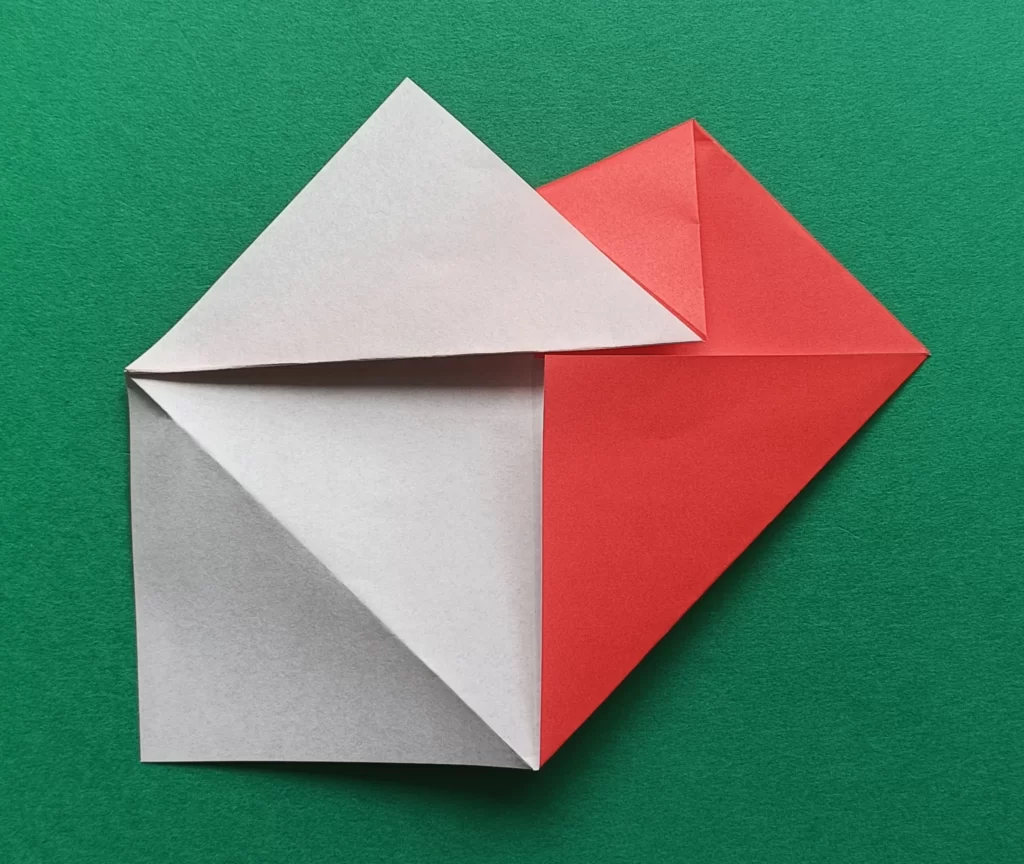
13. Fold the bottom left to the middle.
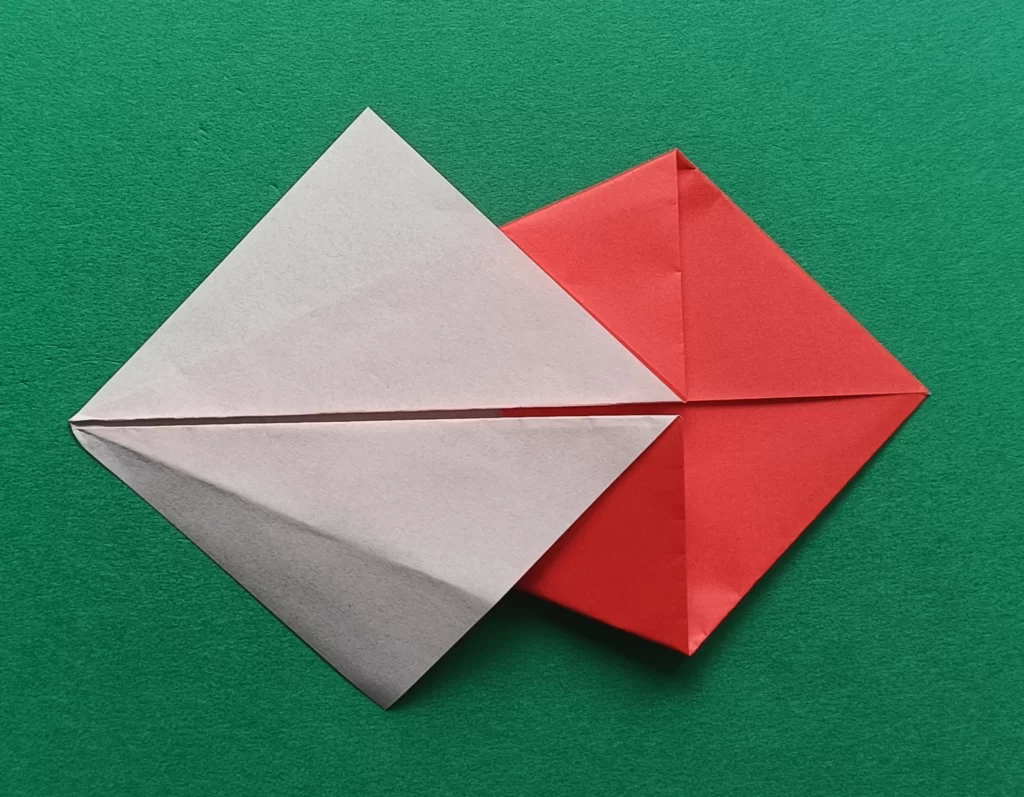
14. Fold the white square in half to the right.
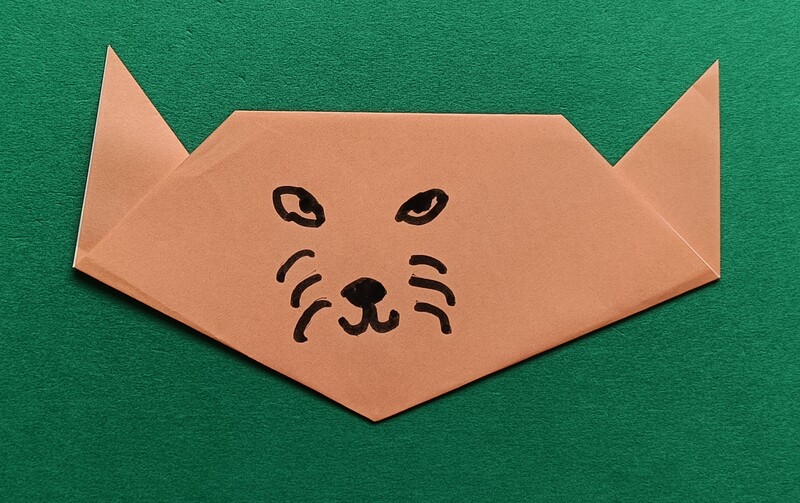
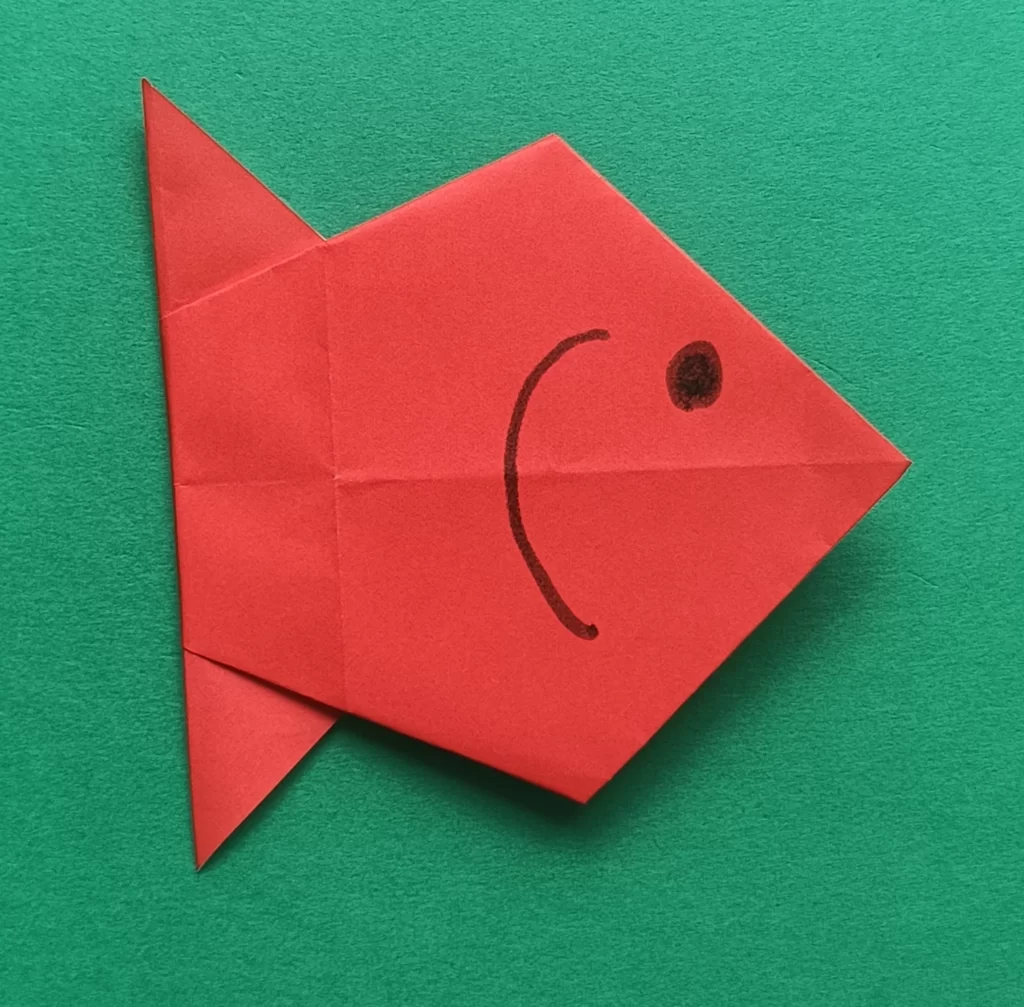
15. Turn it over.

16. Draw the eyes and gills with a marker.
Why This Origami is Good for Kids
- Goldfish are common pets, so kids can connect their paper fish to real ones they may see in bowls or ponds
- The fins and tail help children notice how fish move through water
- It’s fun to create different “fish friends” in many colors, just like in an aquarium
Tips for Success
- Use bright orange or red paper to make your goldfish look realistic
- Make sharp folds by pressing along the edges with your fingernail
- Try using double-sided paper for a colorful surprise effect
Common Mistakes
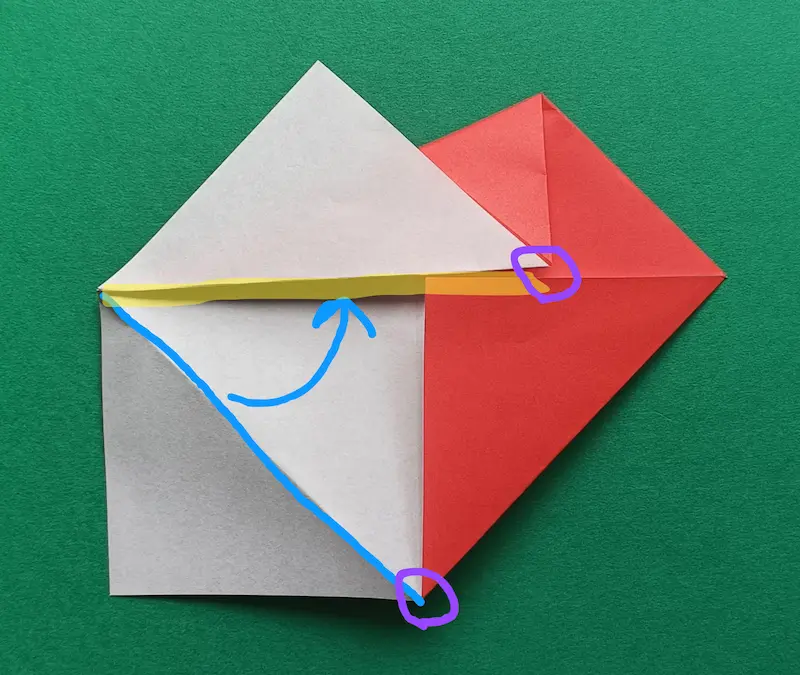
Q: I’m stuck on Step 13. What should I do?
A: Fold the blue line to meet the yellow line. It’s perfect if the corners in the purple circle line up!
Fun Ideas to Try
- Draw bubbles around your fish and hang it on the wall like it’s underwater
- Make several goldfish and place them in a paper “fish tank”
- Add glitter to create shiny scales
- Turn your fish into a greeting card decoration
- Tape a string to your fish and make it “swim” in the air
Fun Fact
Goldfish have been kept as pets for more than one thousand years!
In Japan, goldfish are a symbol of summer. You can often see “Kingyo-sukui” (goldfish scooping) at traditional summer festivals. It’s a very popular game for children!
Conclusion
Great work! You just made your own easy origami goldfish. It’s amazing how a simple piece of paper can turn into something so lively and fun.
Keep practicing and try making more fish in different sizes and colors. Origami gets easier each time, and there are so many shapes waiting for you to discover!
Try More Origami
Want to make more fun paper fish? Try these next: